| Info | ||
|---|---|---|
| ||
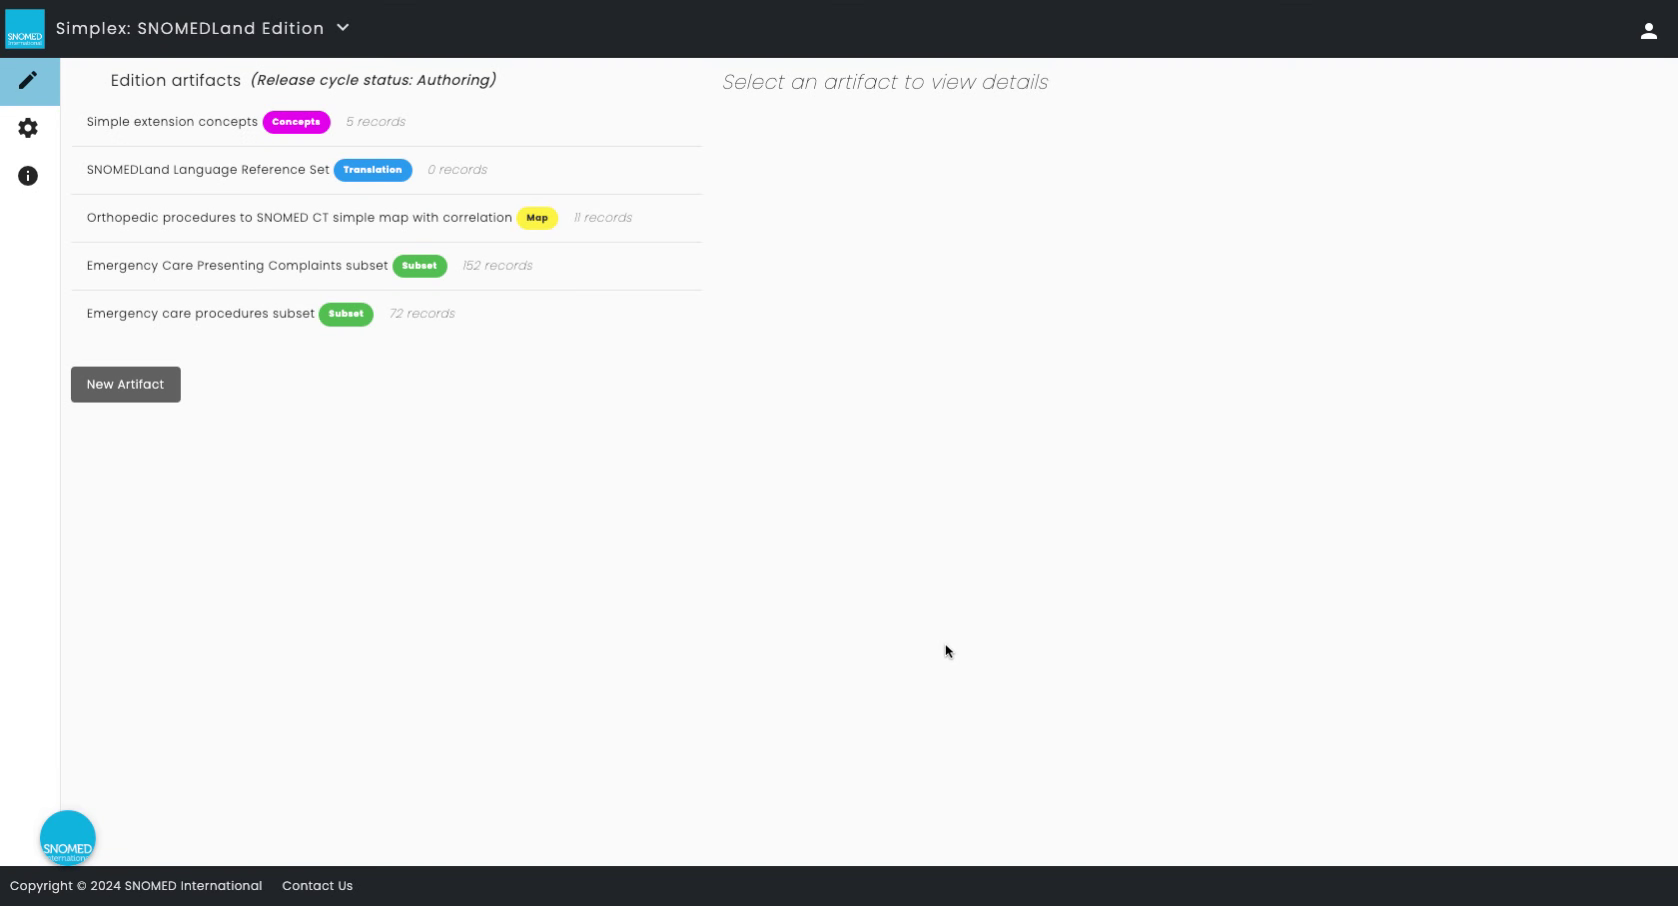
This page summarizes the process of creating a new translation in Simplex, which involves the creation of a language reference set concept Prerequisite steps:
|
Step-by-Step Guide
In Development...
First, create the Language Reference Set by following these steps:
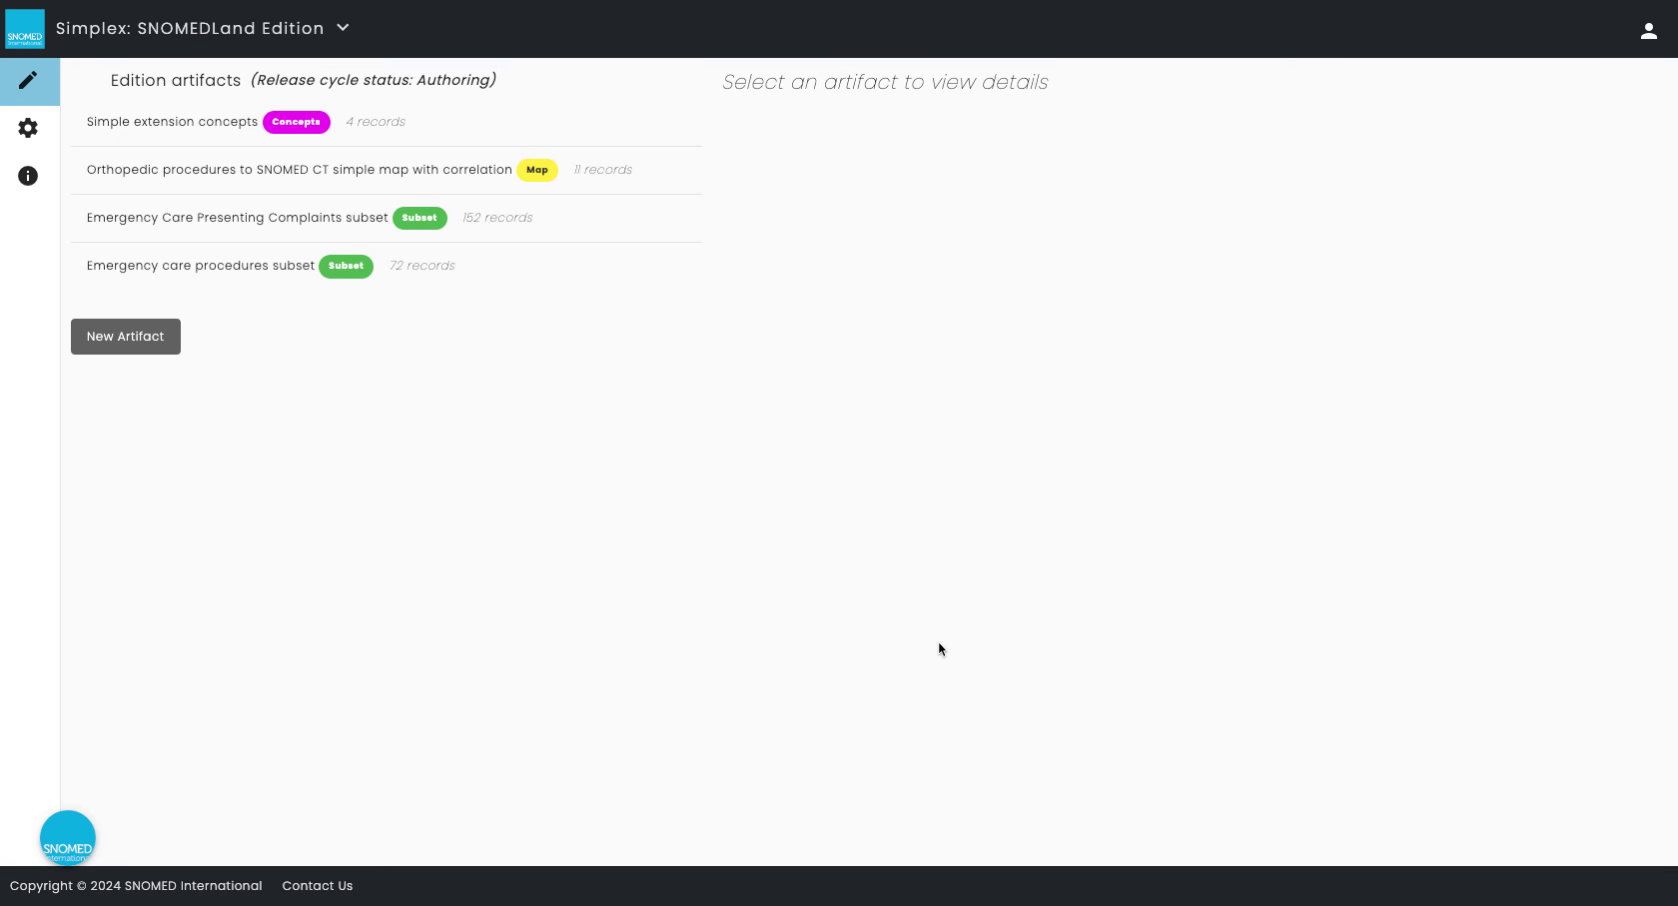
This guide will walk you through creating a translation in Simplex.
1. Introduction
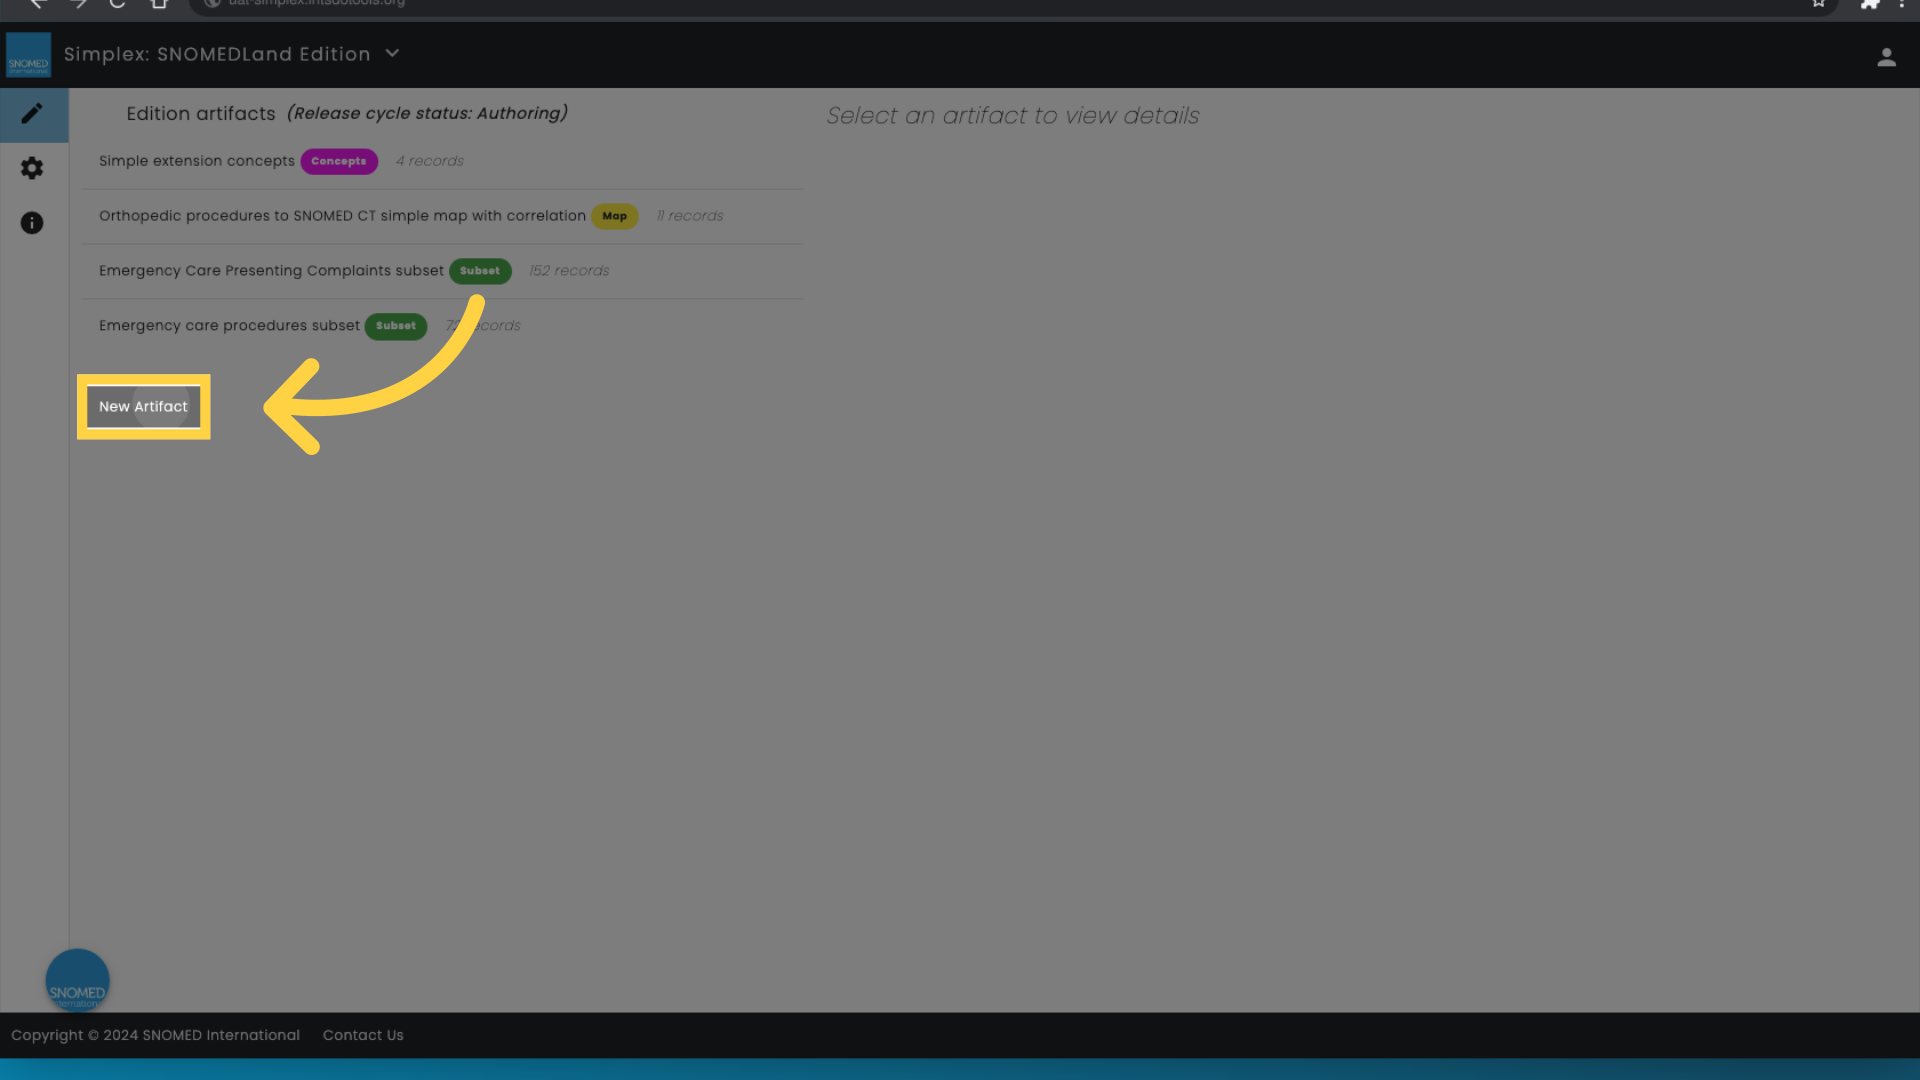
2. Click "New Artifact"
Create a new artifact by clicking on "New Artifact".
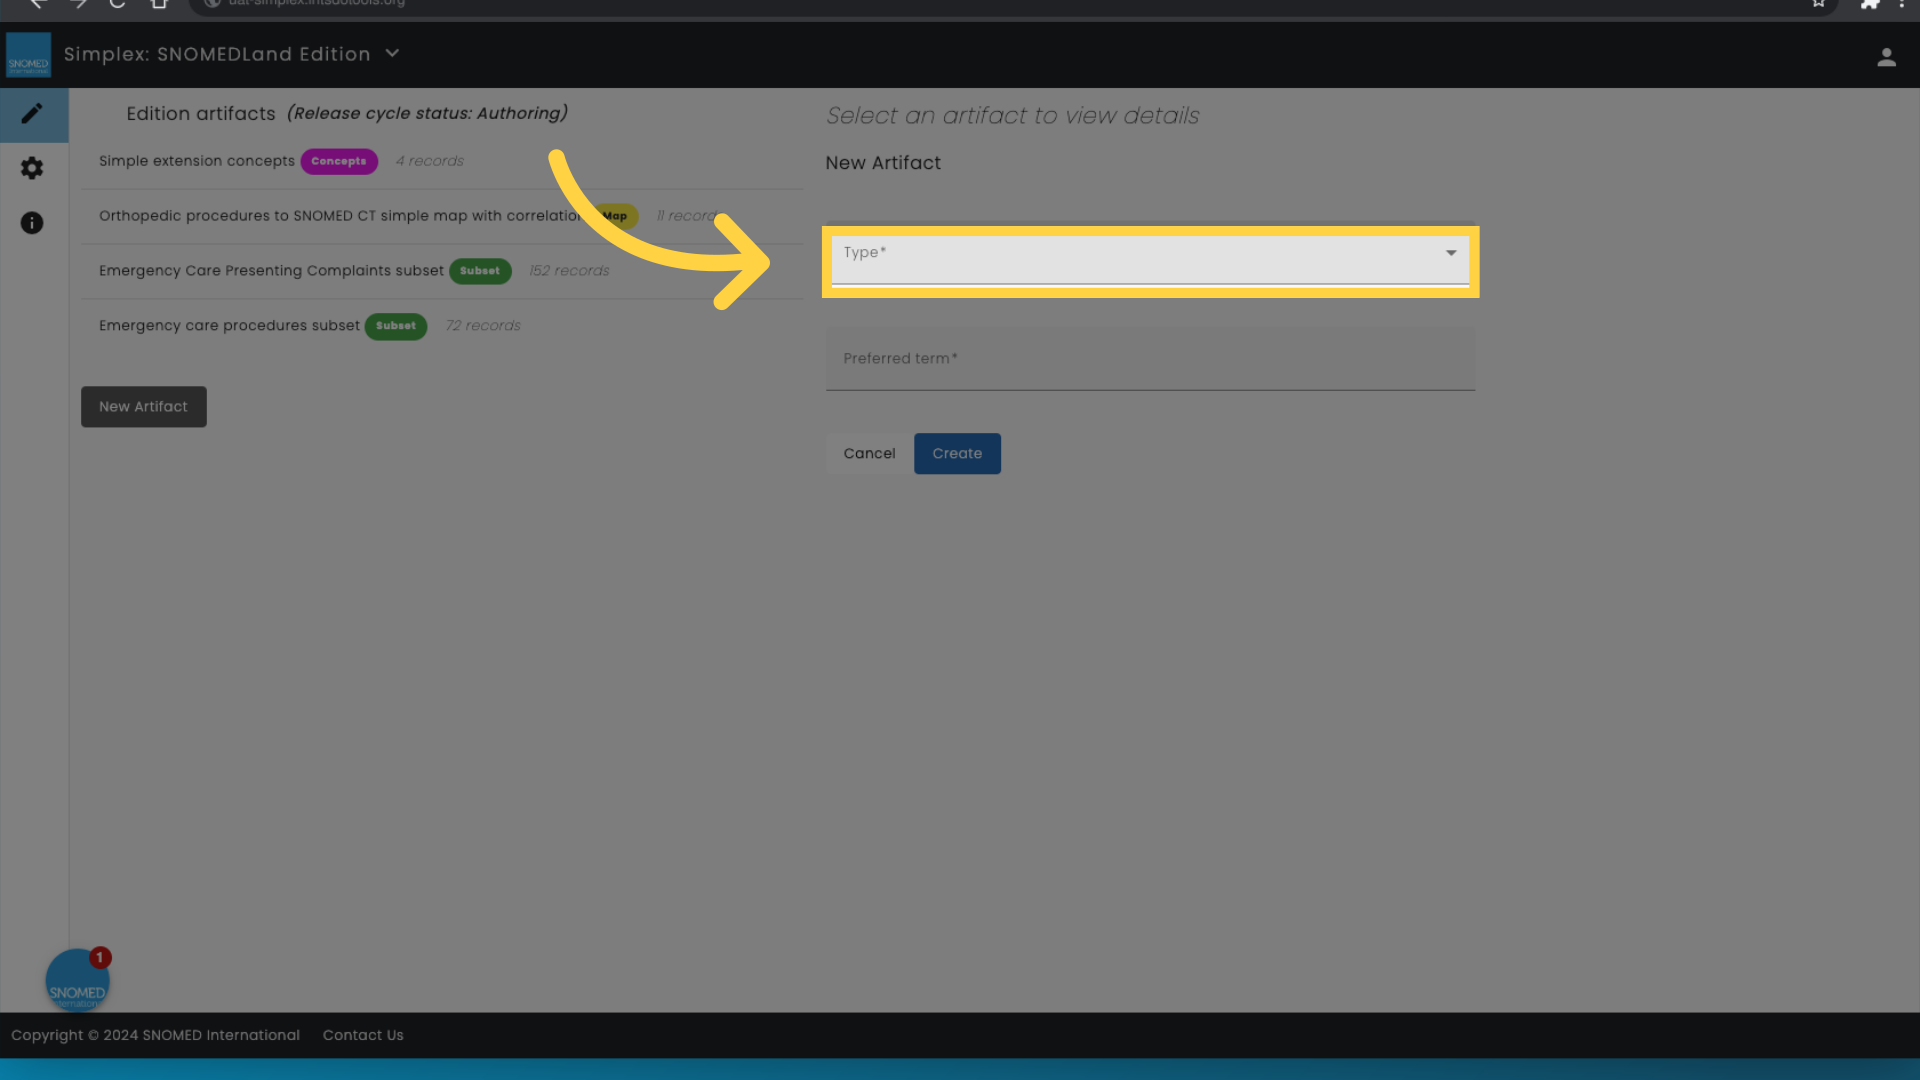
3. Select type
Navigate to the right side of the screen to select the type
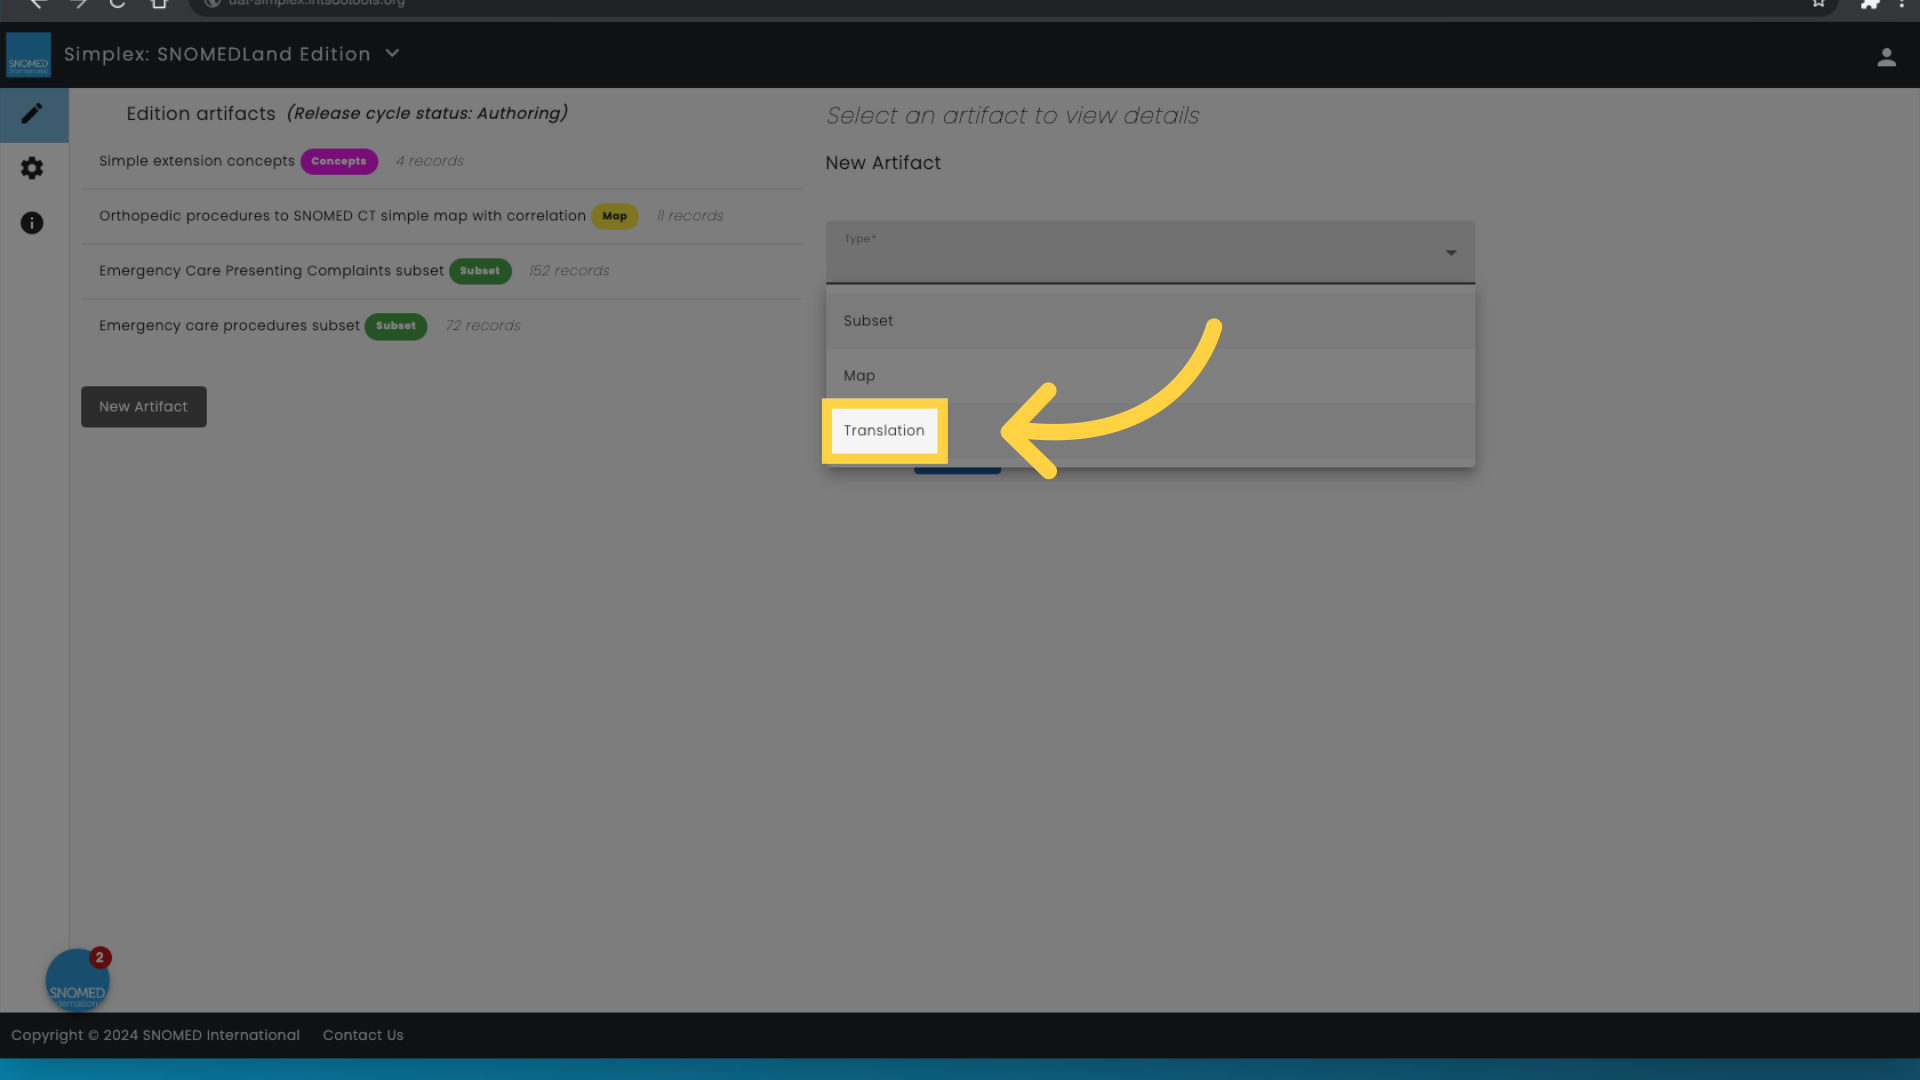
4. Click "Translation"
Access the translation feature by clicking on "Translation".
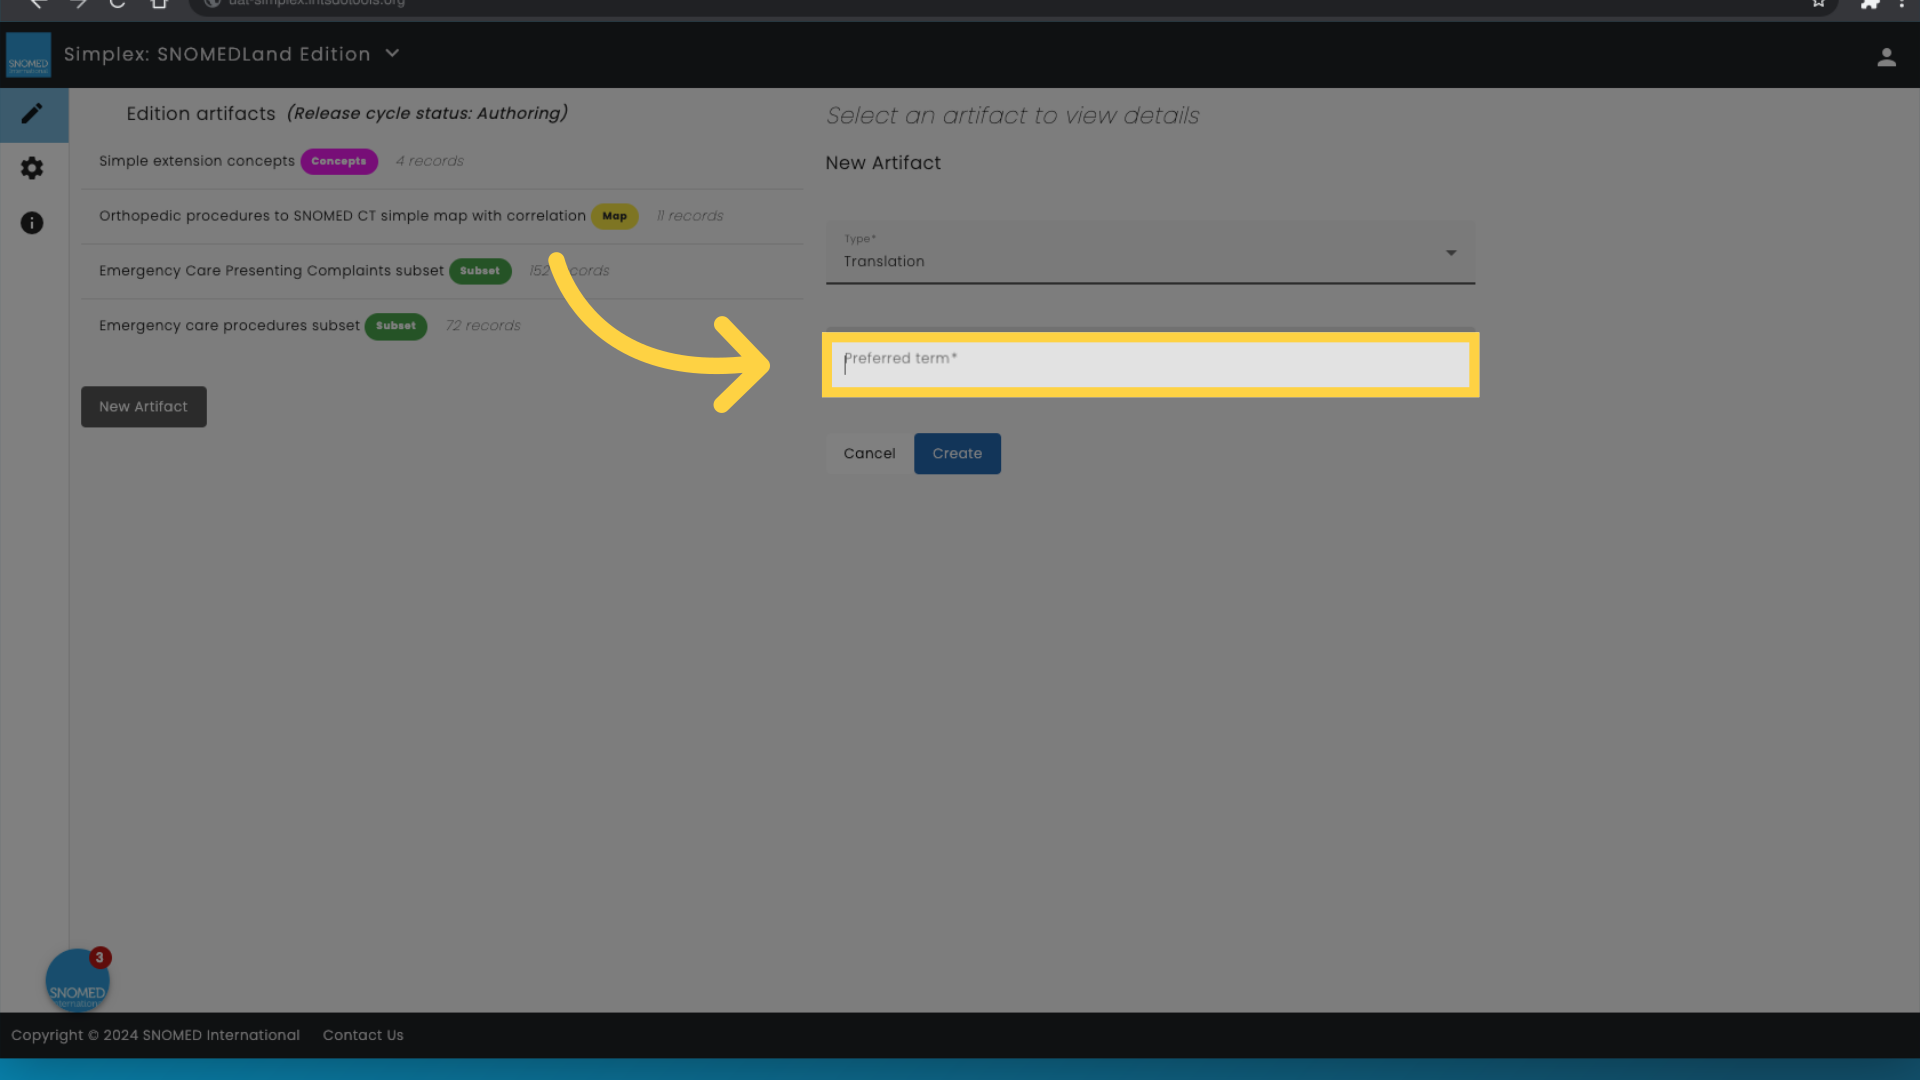
5. Click "Preferred term"
Select the preferred term by clicking on "Preferred term".
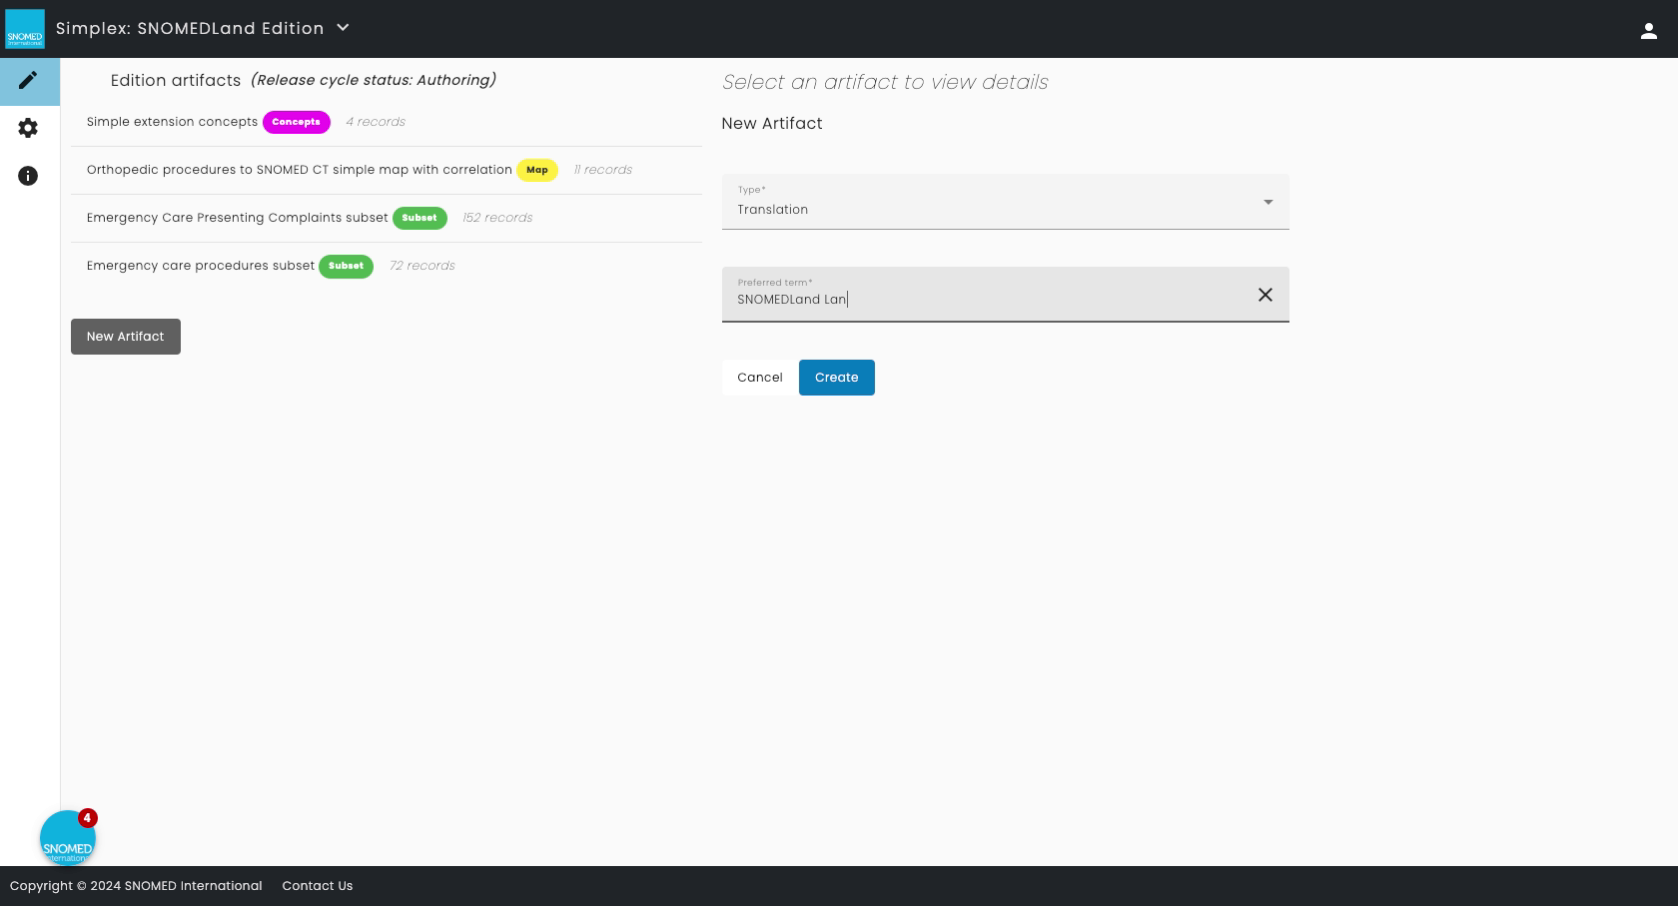
6. Fill the name of your language reference set
Enter the name you want for your language reference set
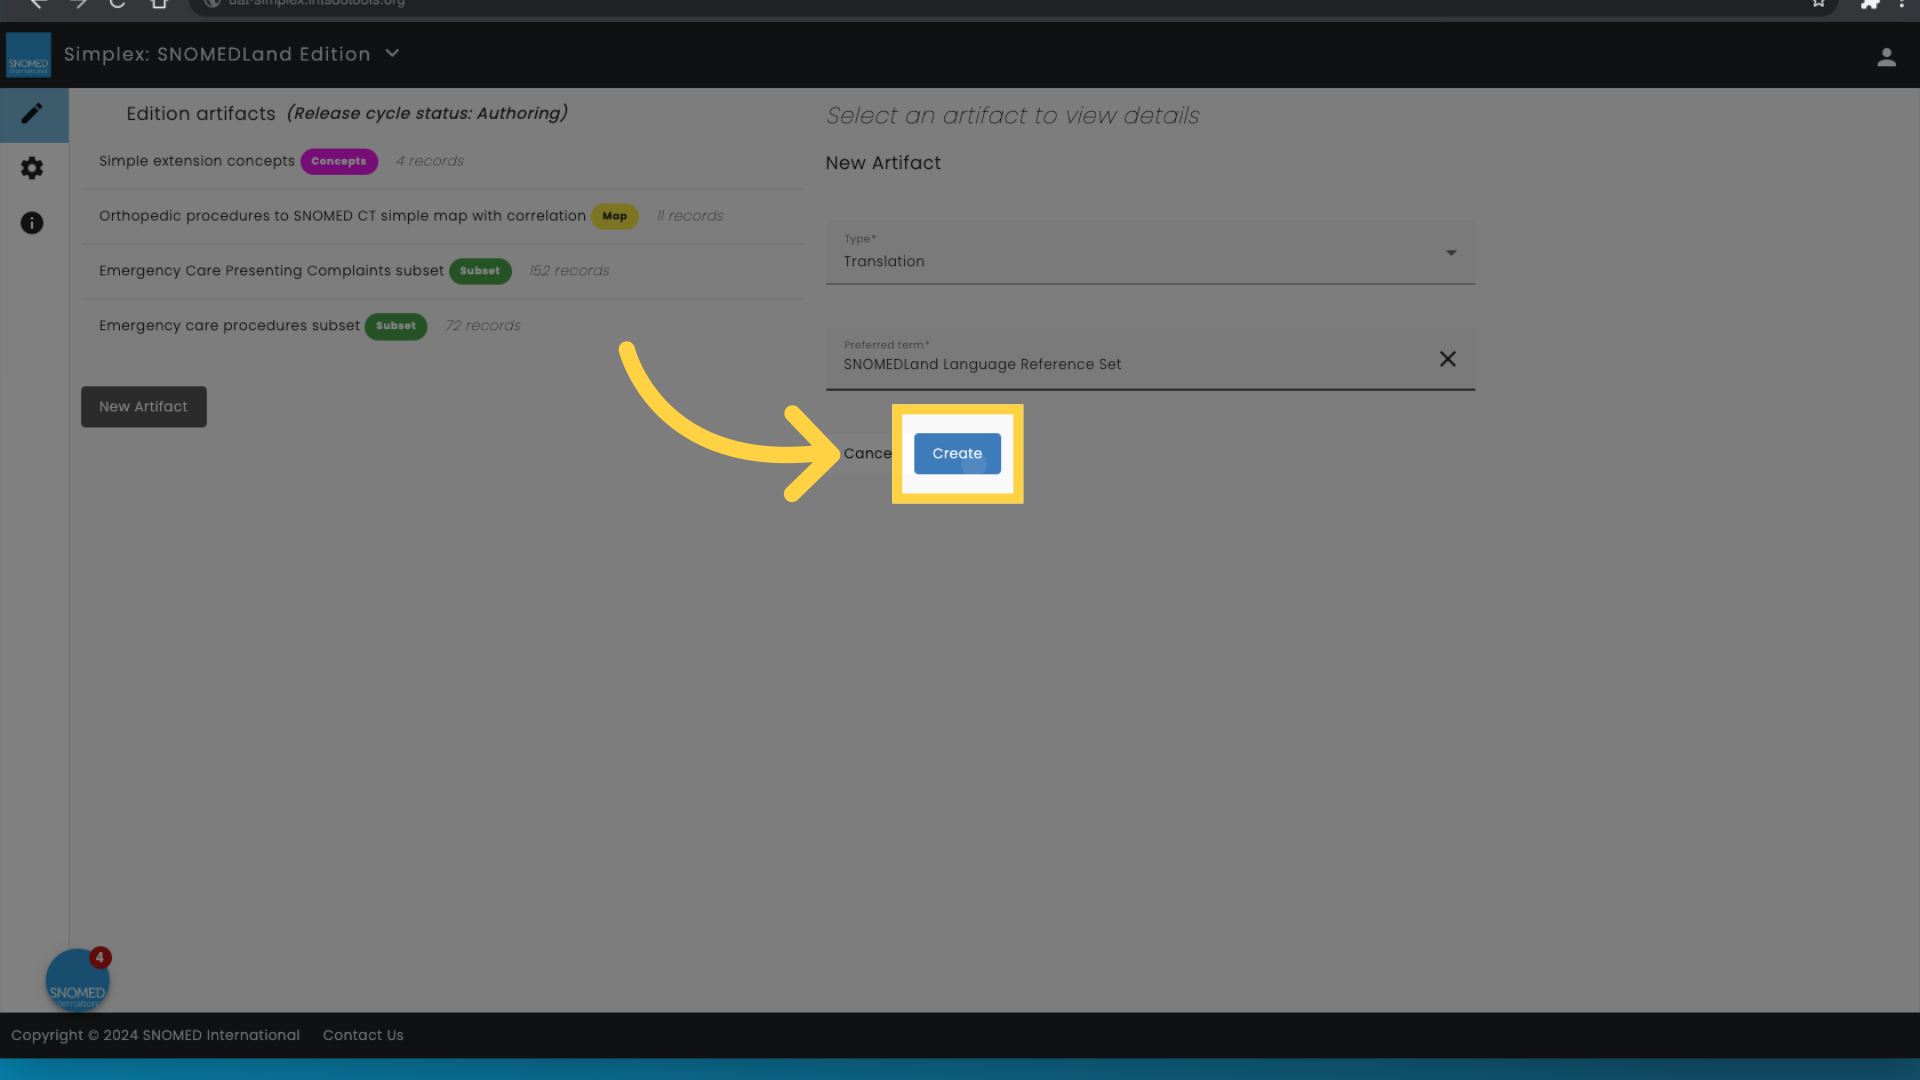
7. Click 'Create'
Navigate to the desired location by clicking on the specified area.
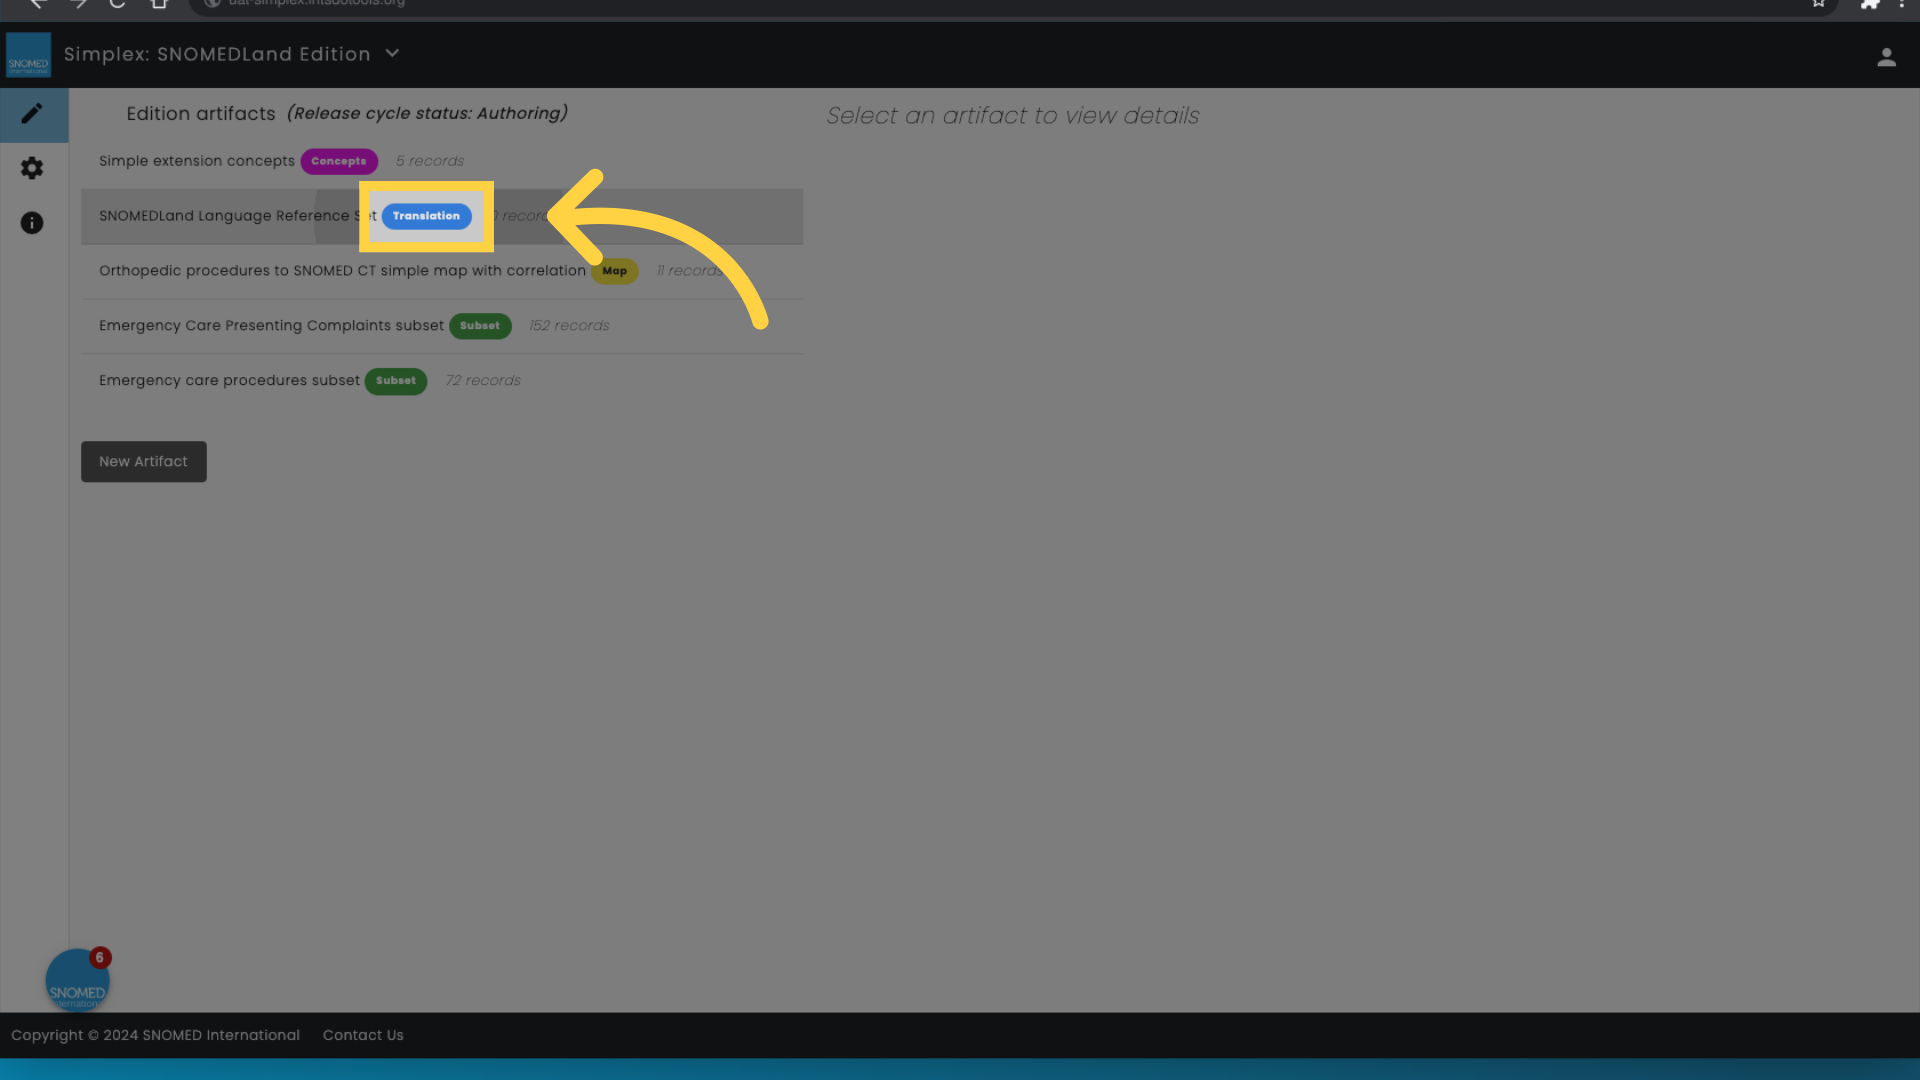
8. Confirm that the artifact is created
Confirm that the artifact is created
Then, add the translation by following these steps:
1. Access the extension artifacts
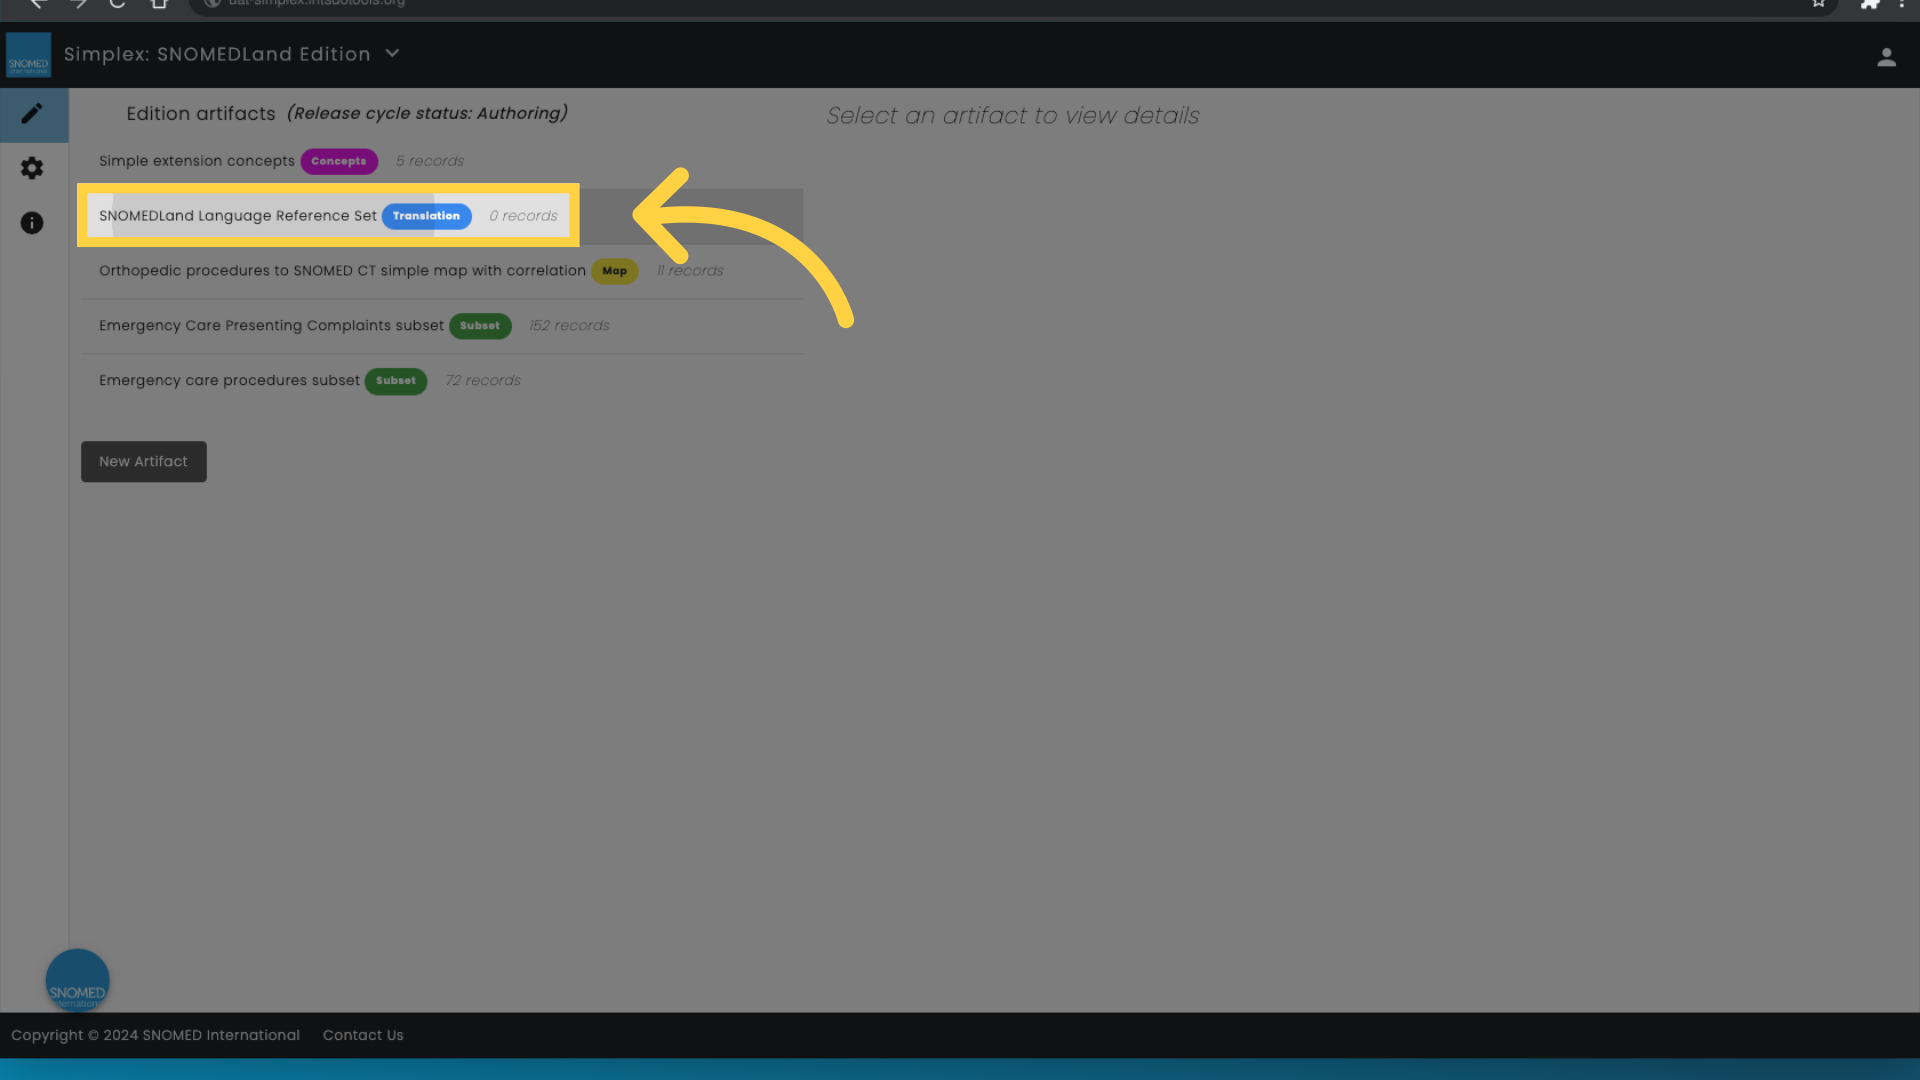
2. Select the translation artifact
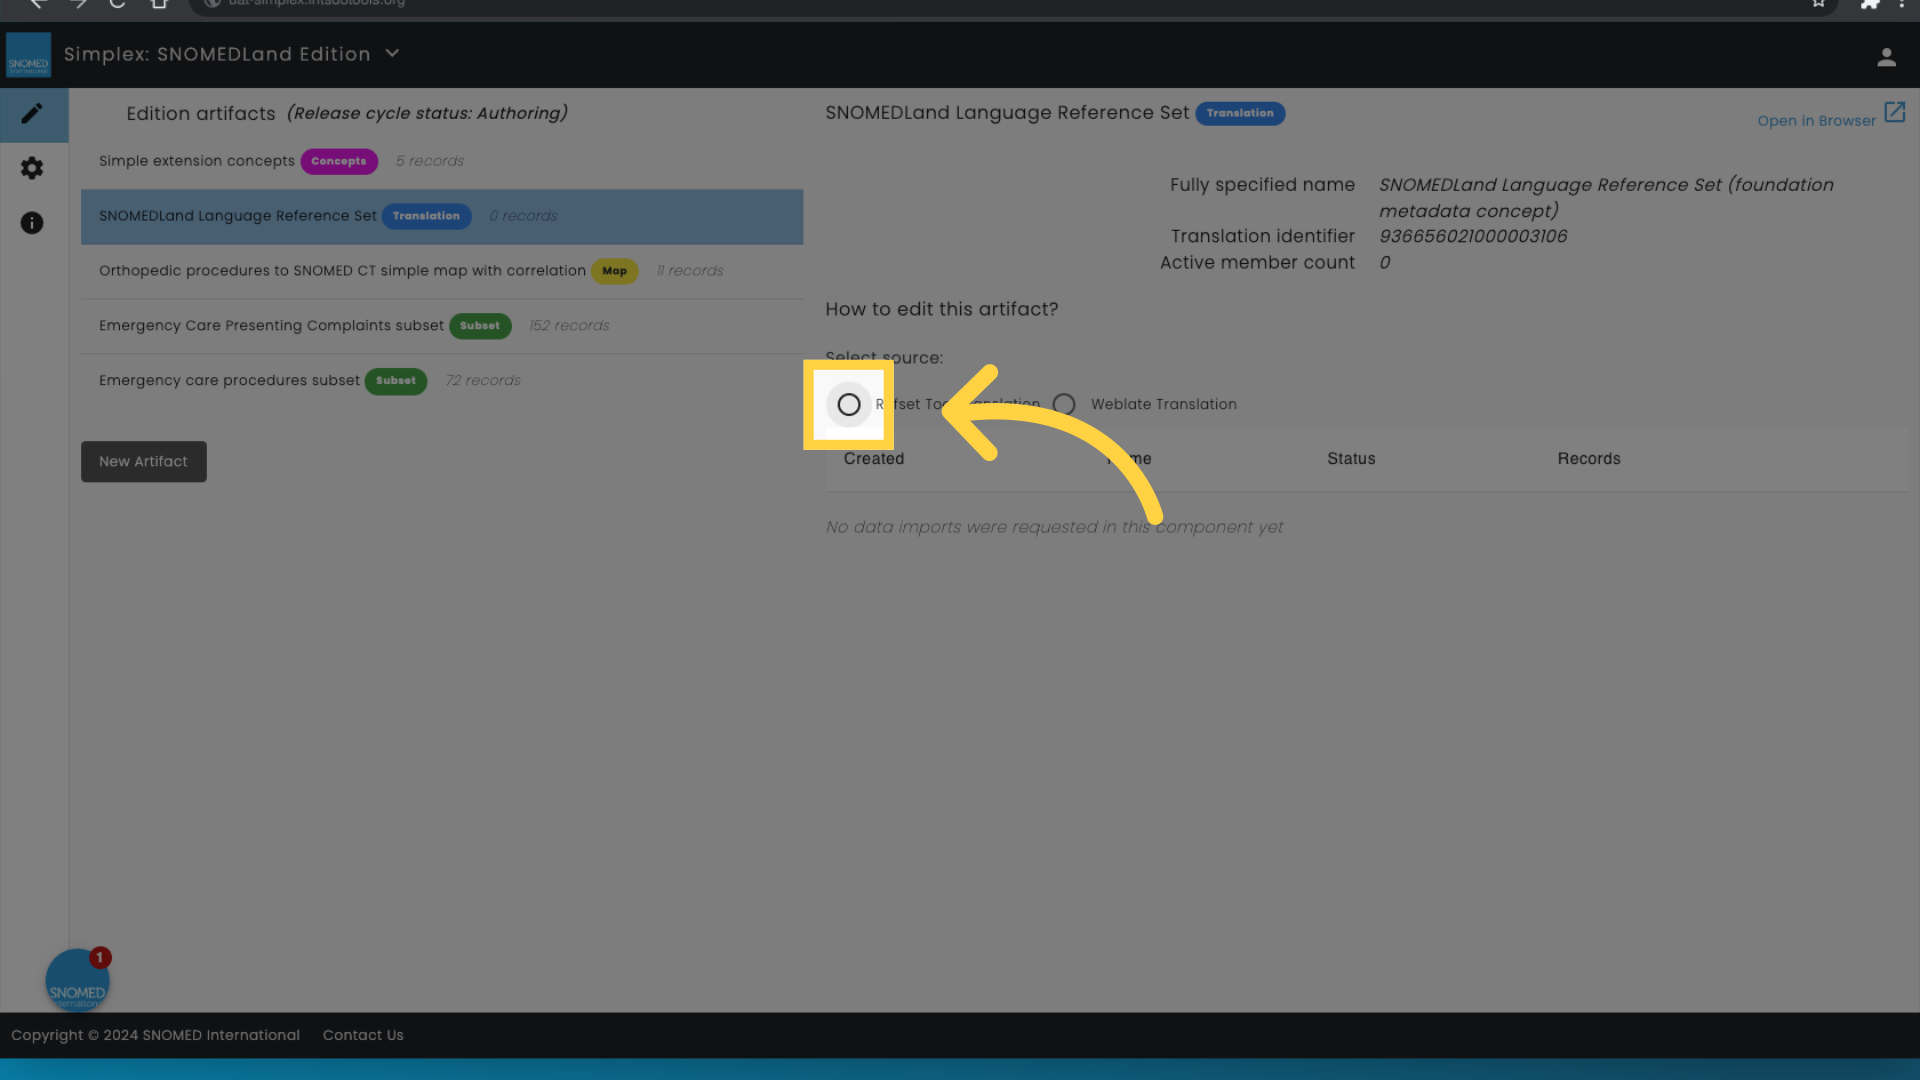
3. Select the translation tool you've used to perform the translation
In this example, we are using the Refset and Translation tool.
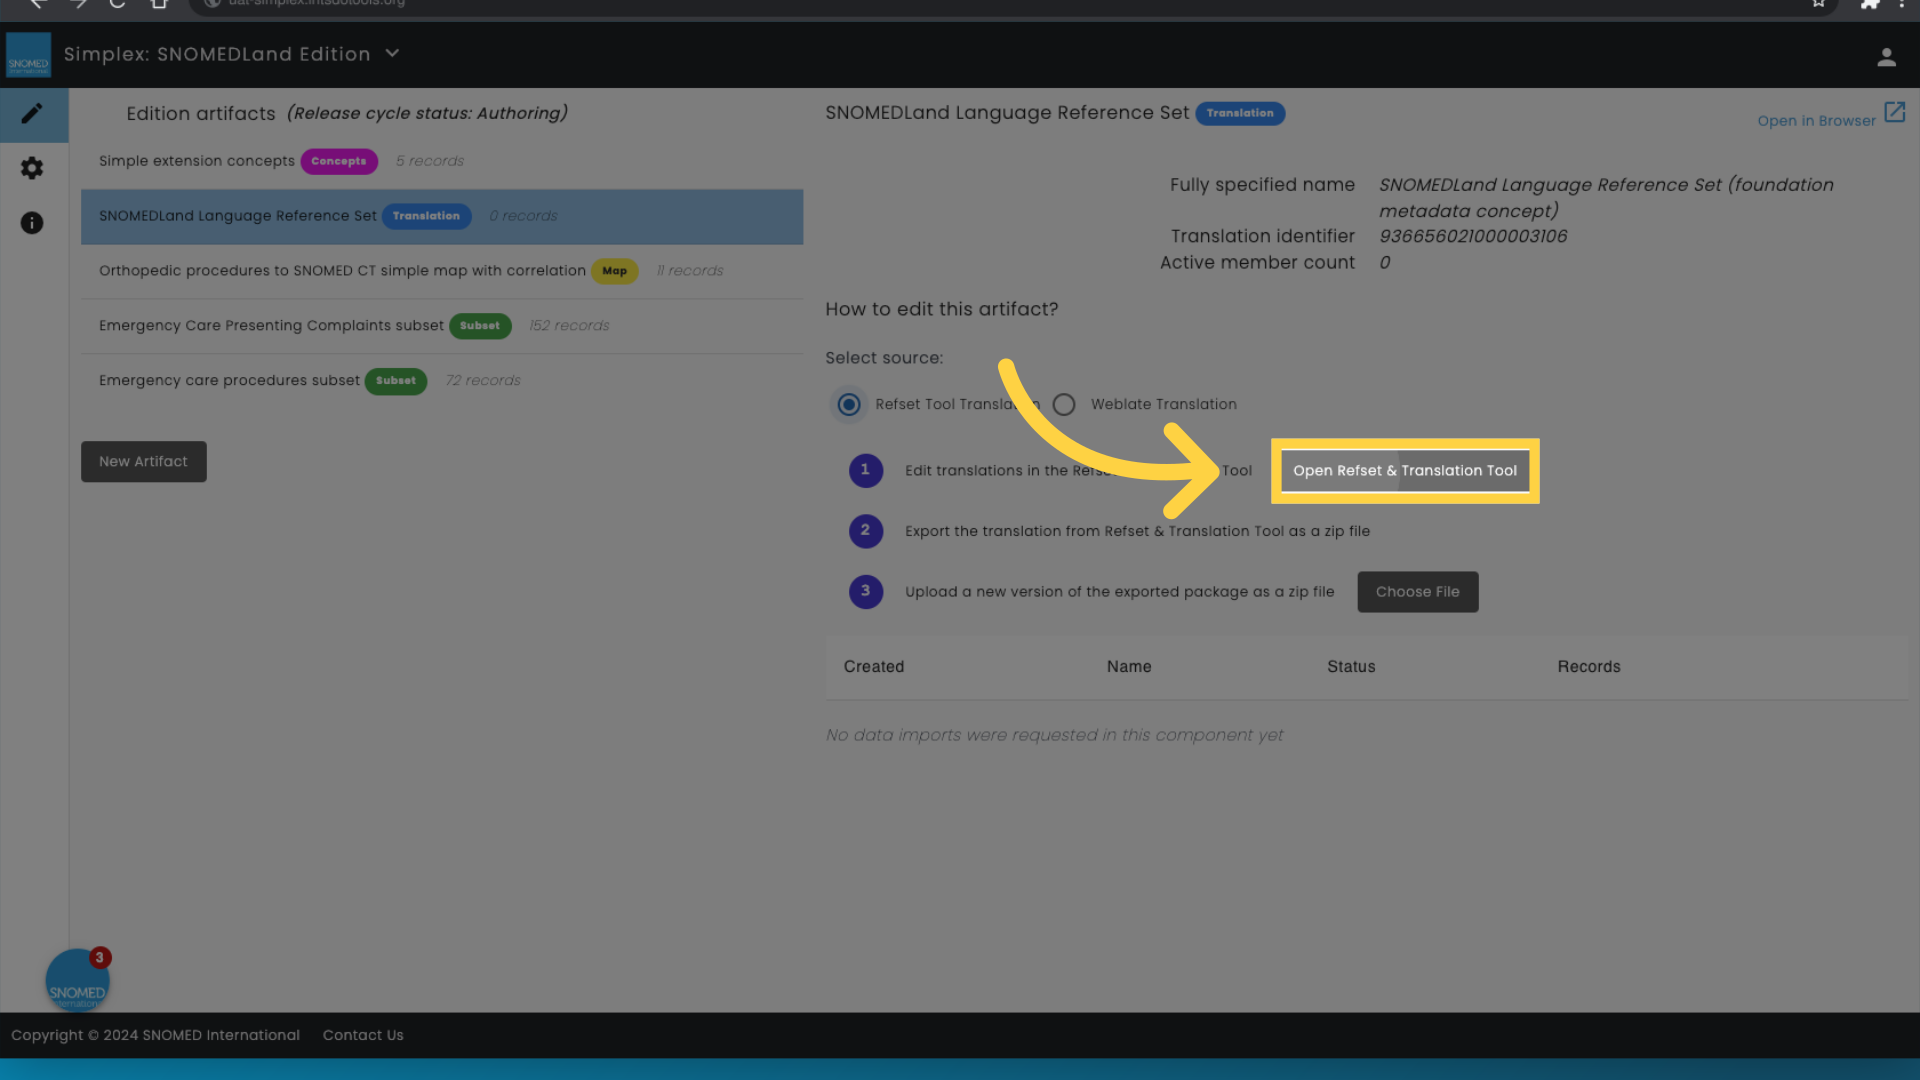
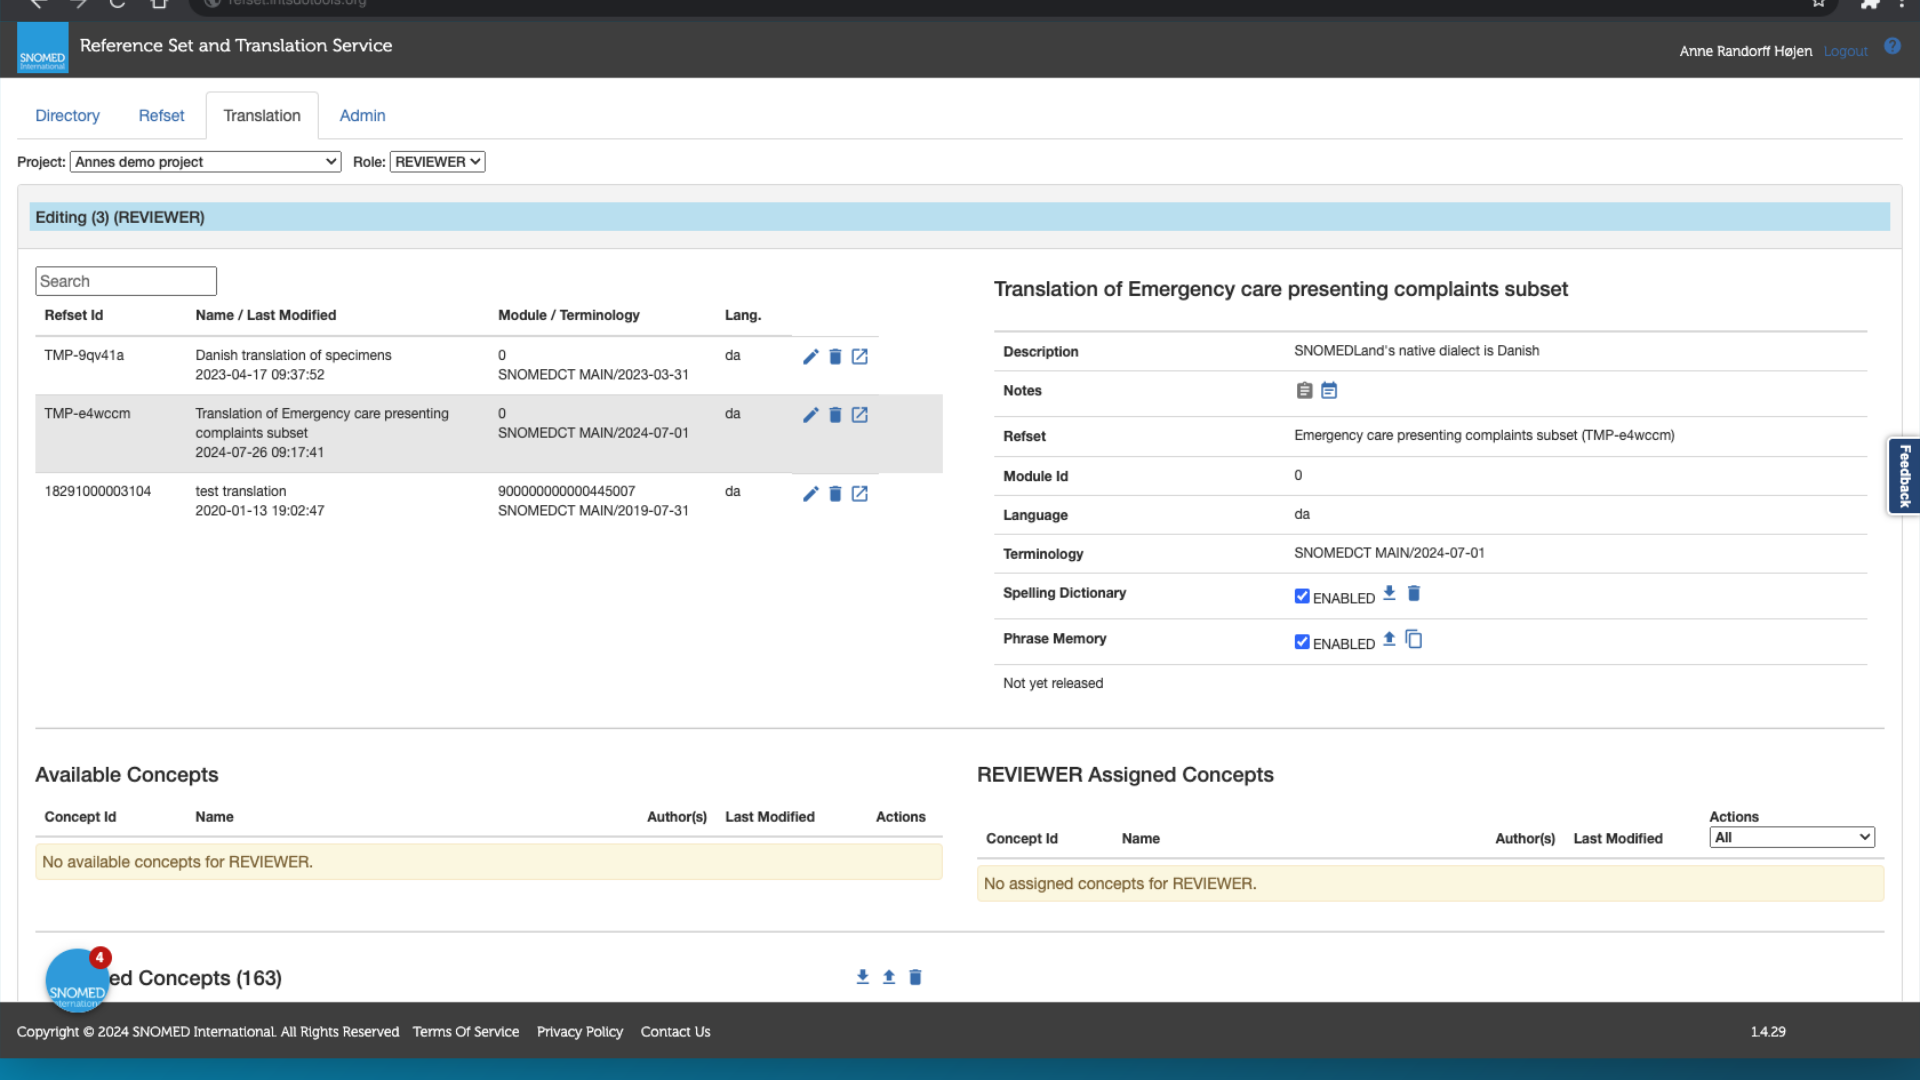
4. Open the translation tool
5. In the translation tool, select the set of terms you wish to export
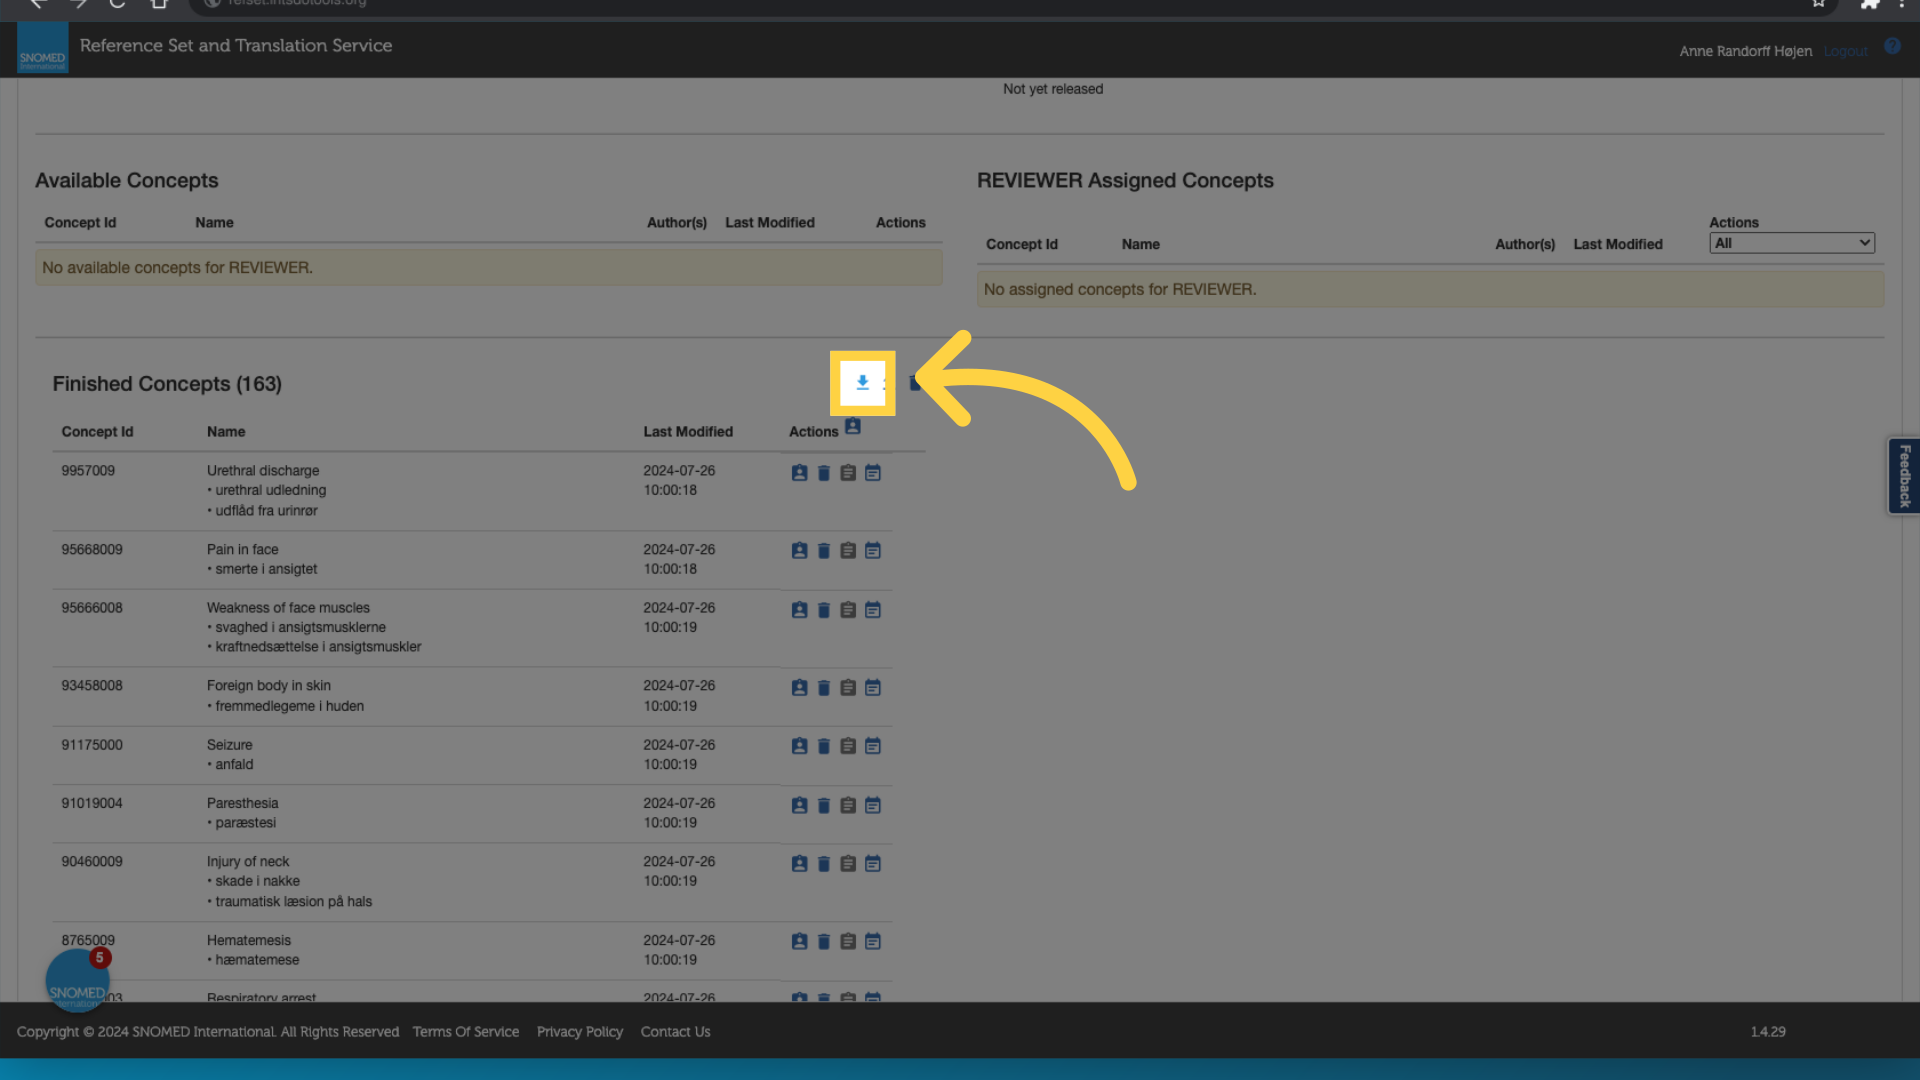
6. Navigate to the export feature
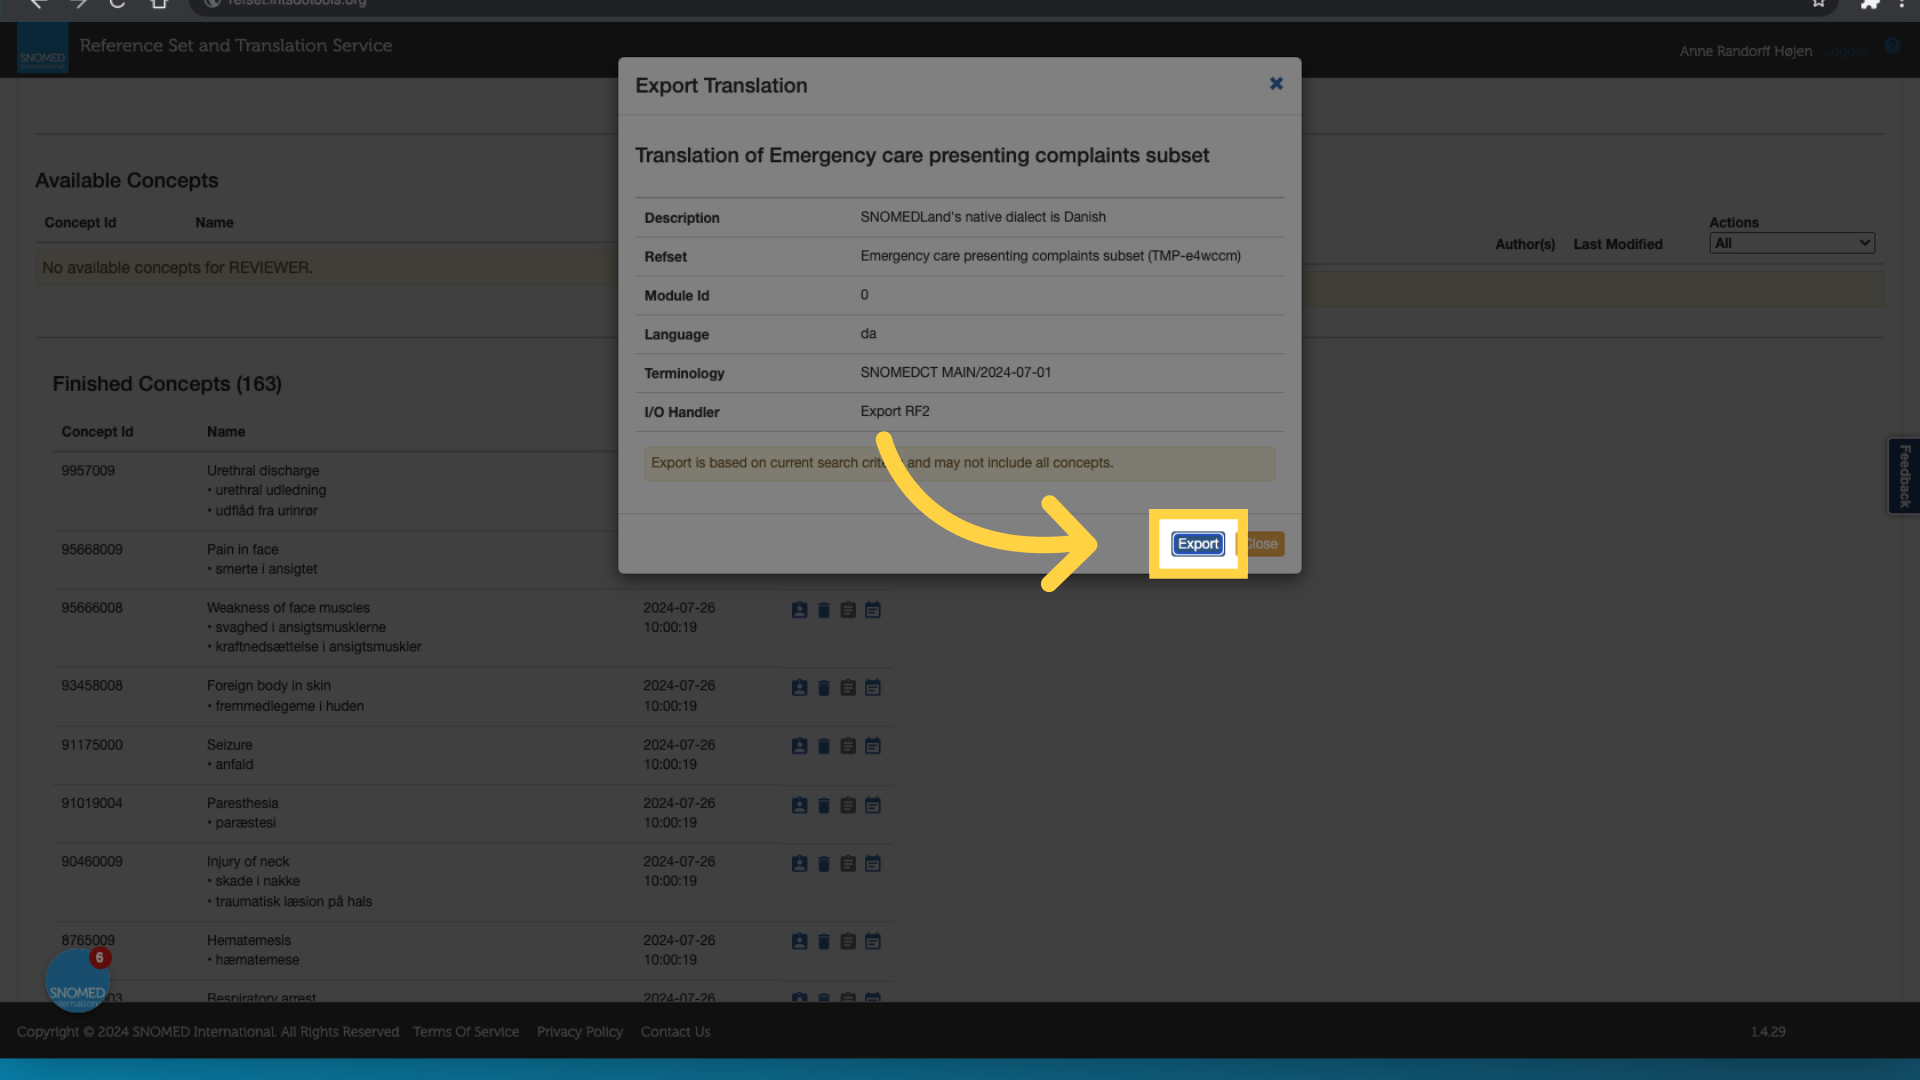
7. Click "Export"
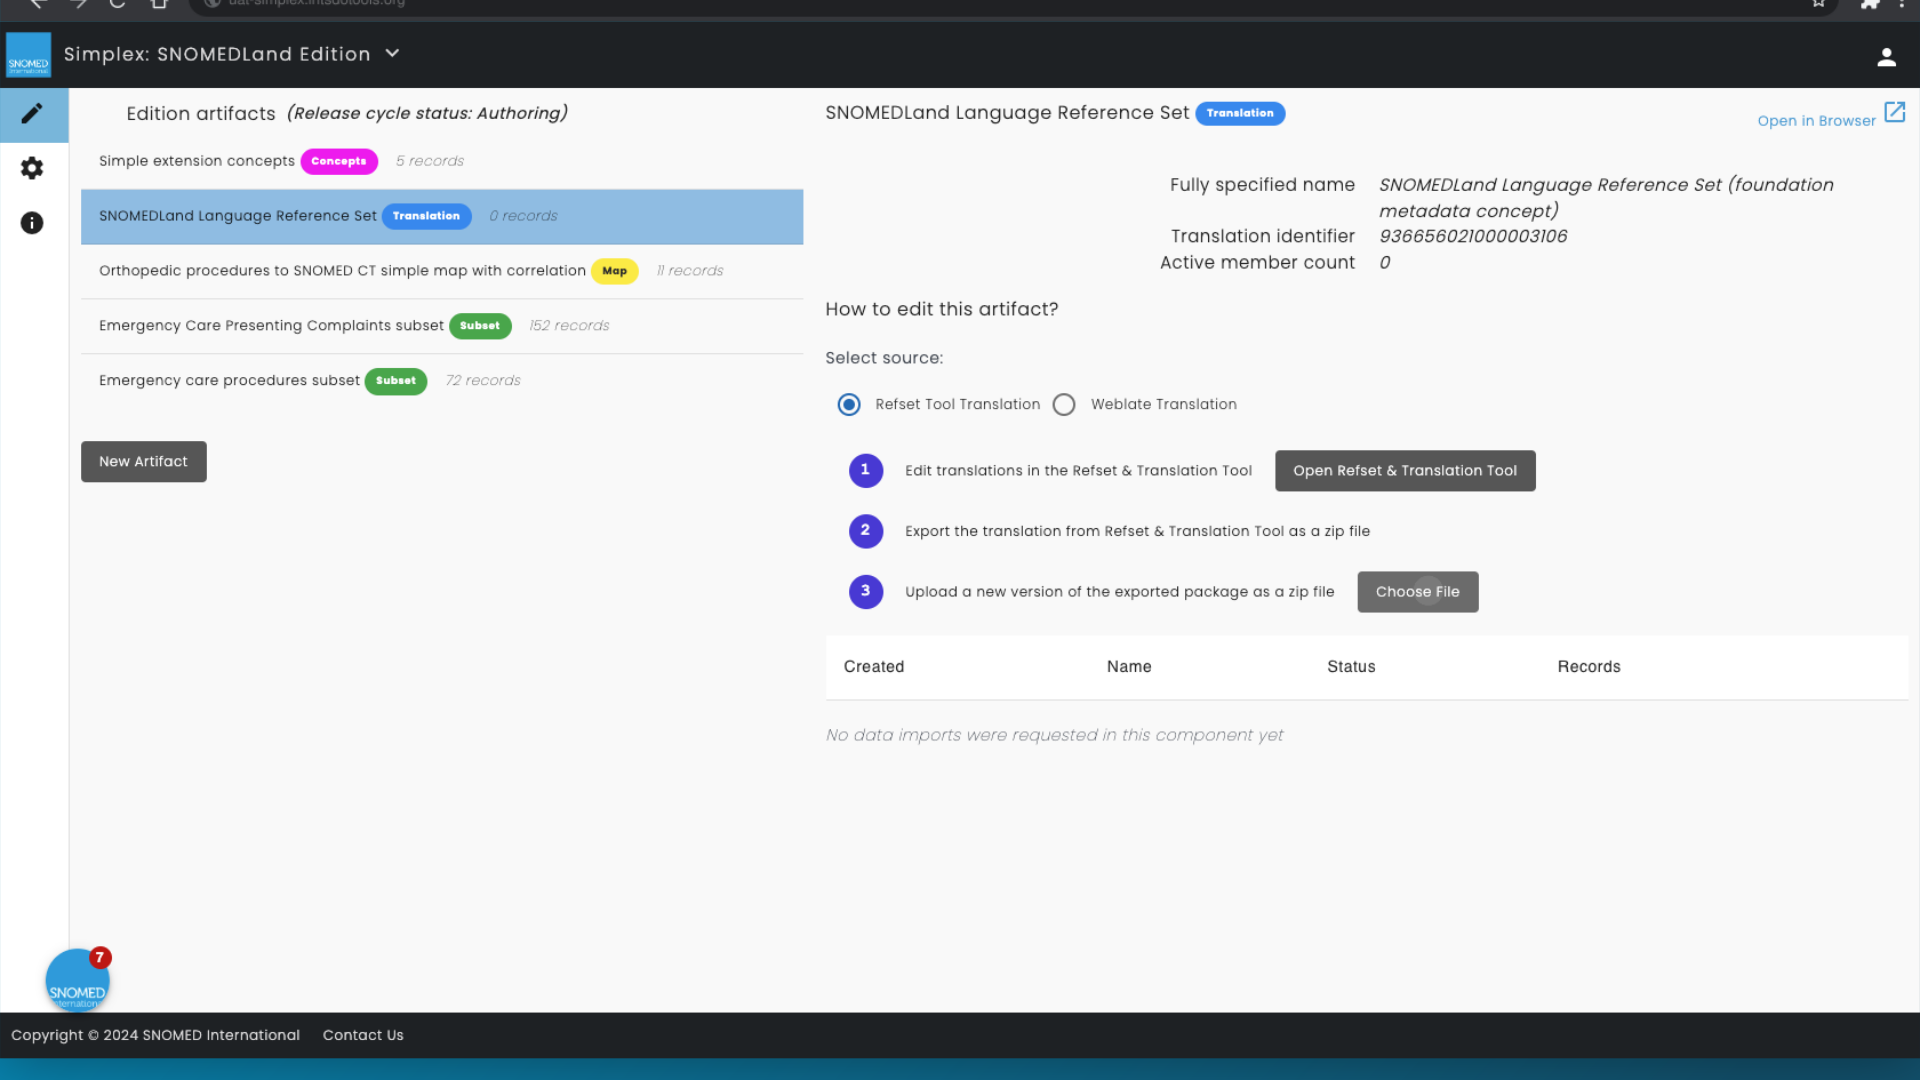
8. Switch back to Simplex
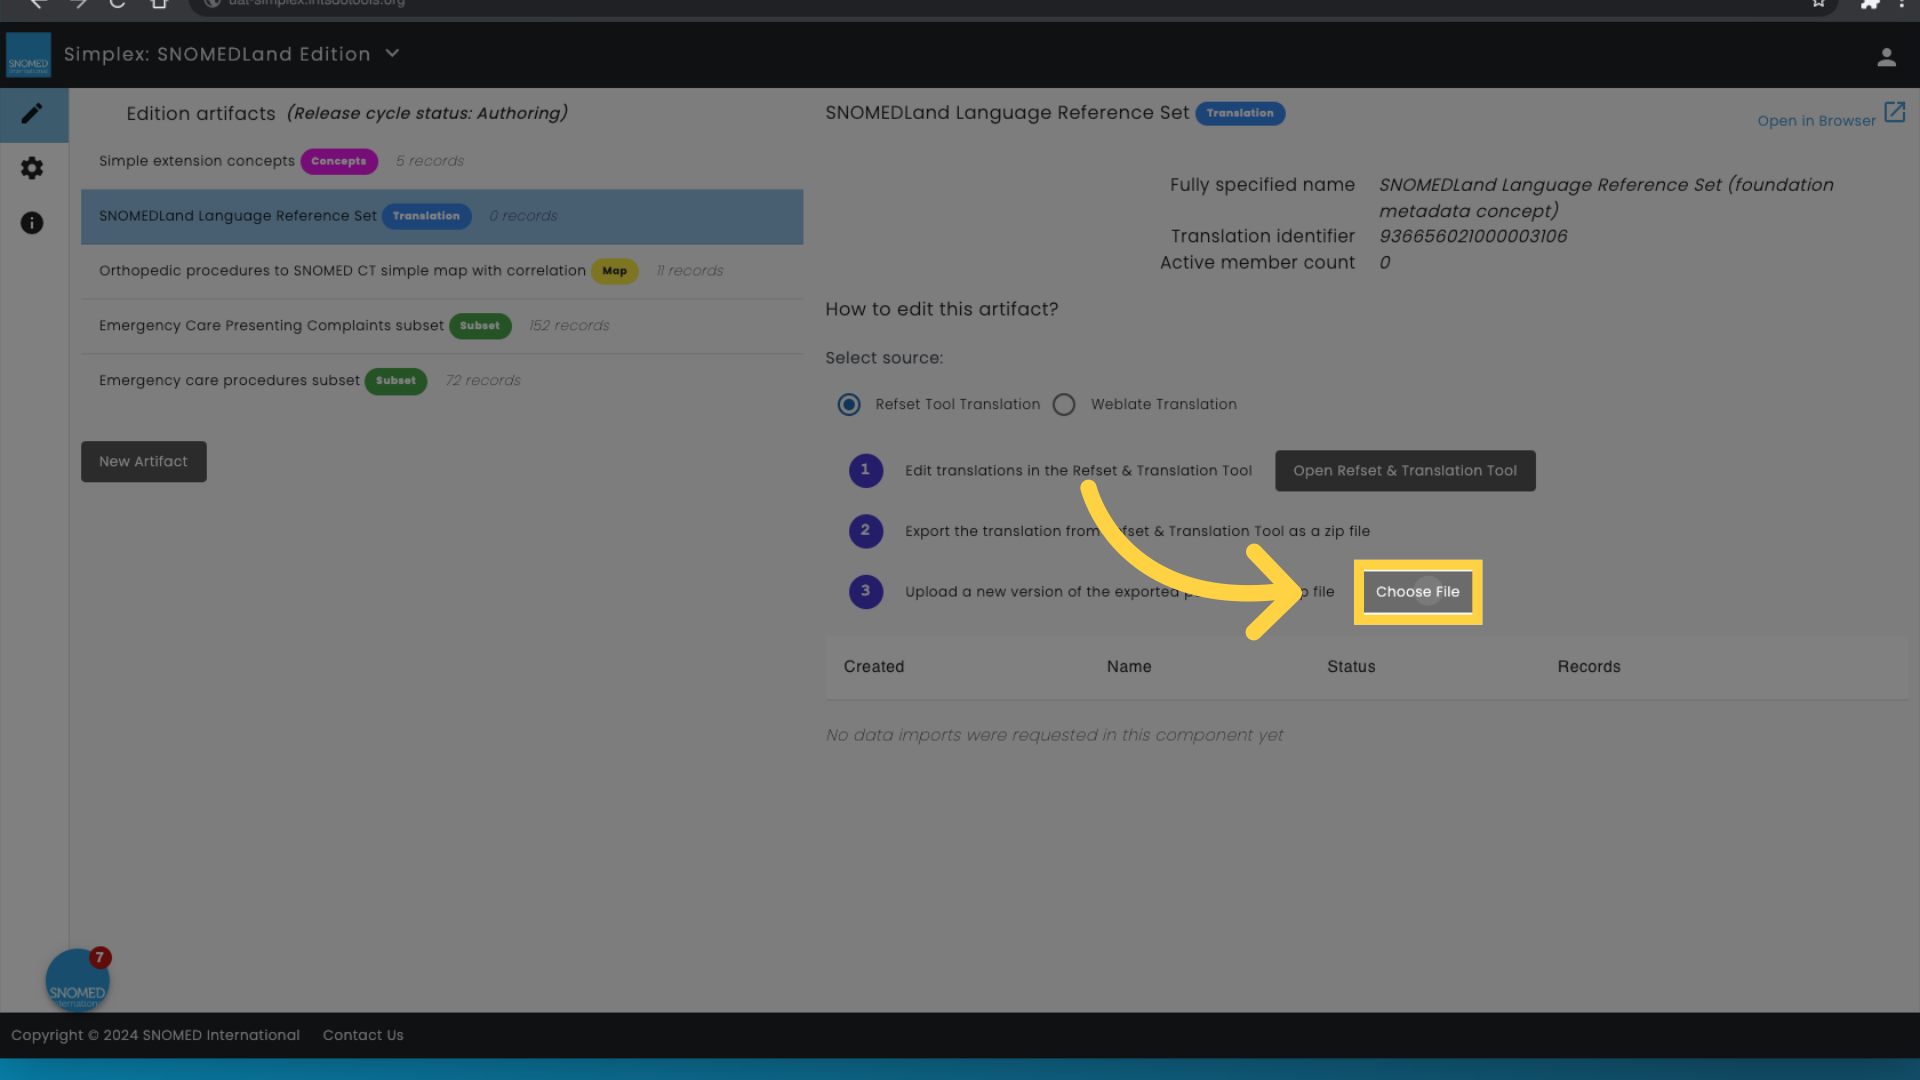
9. Click "Choose File"
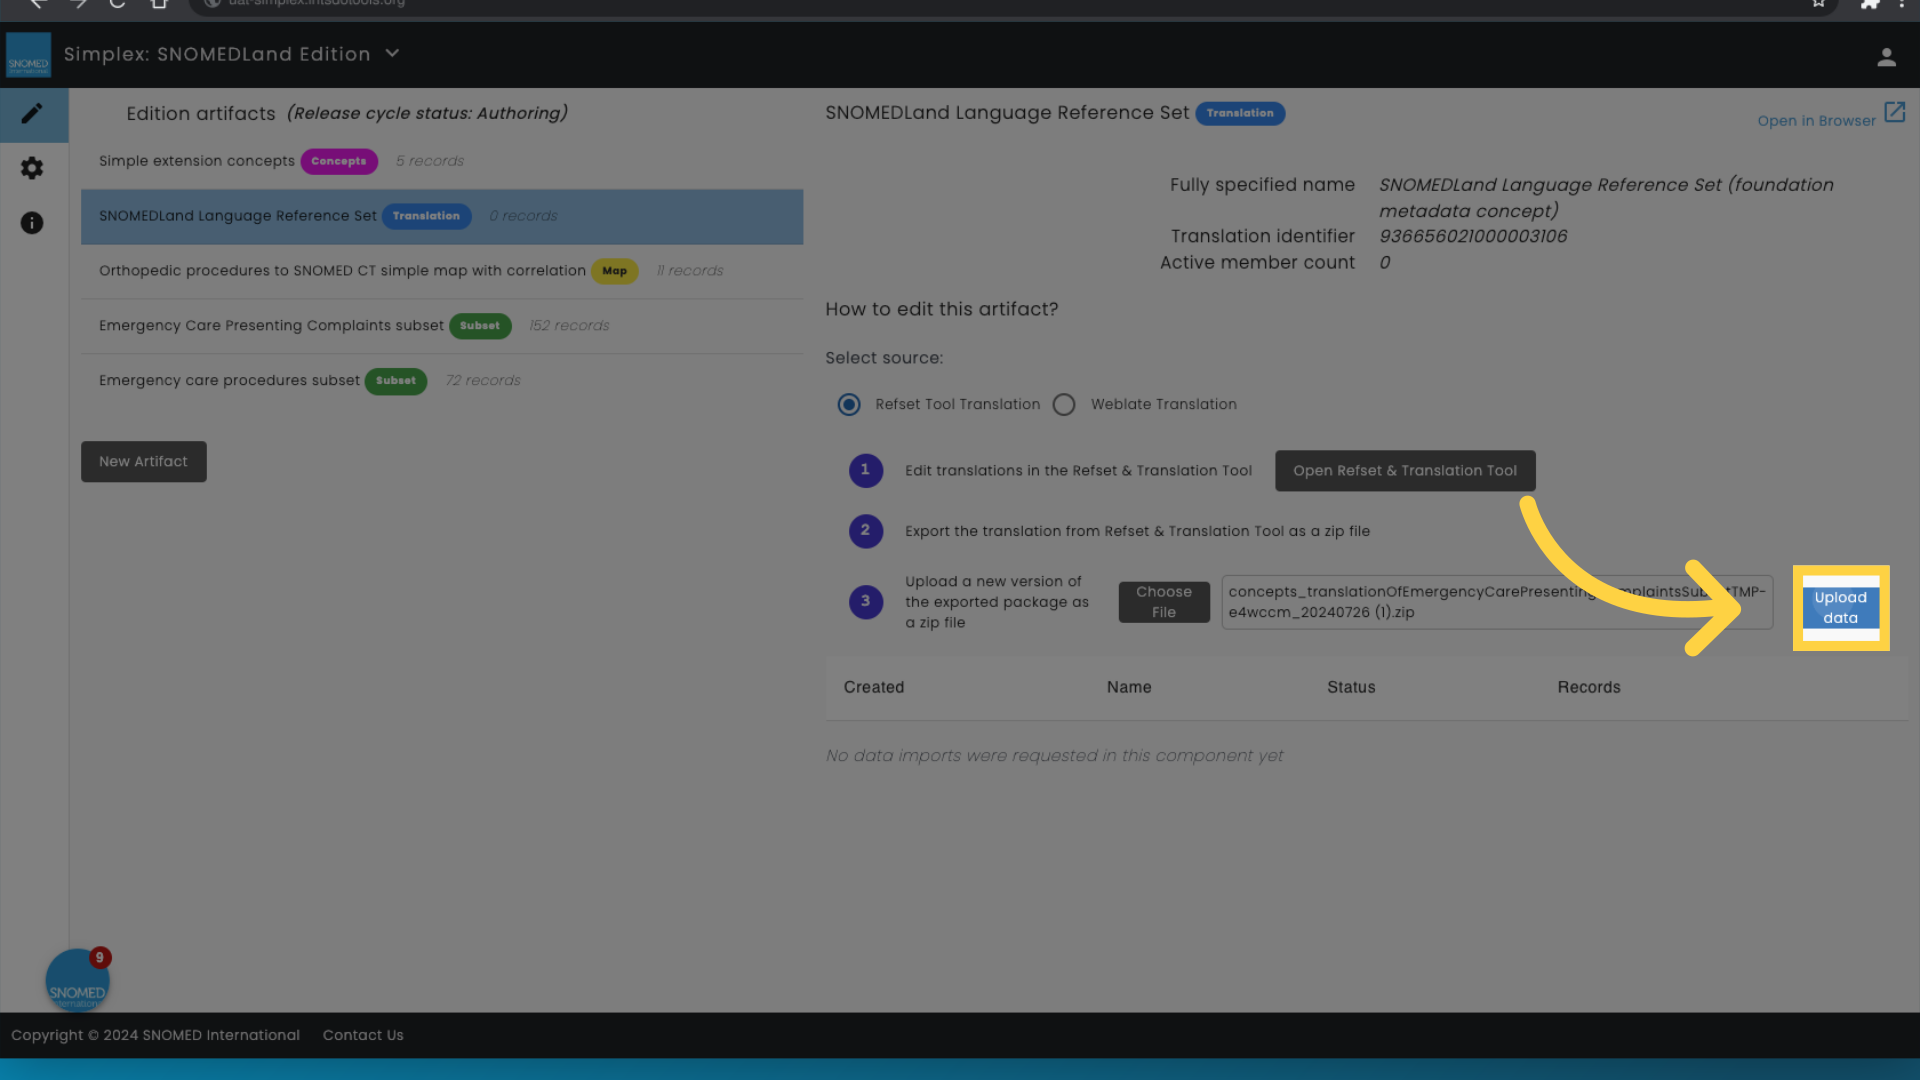
10. Upload data
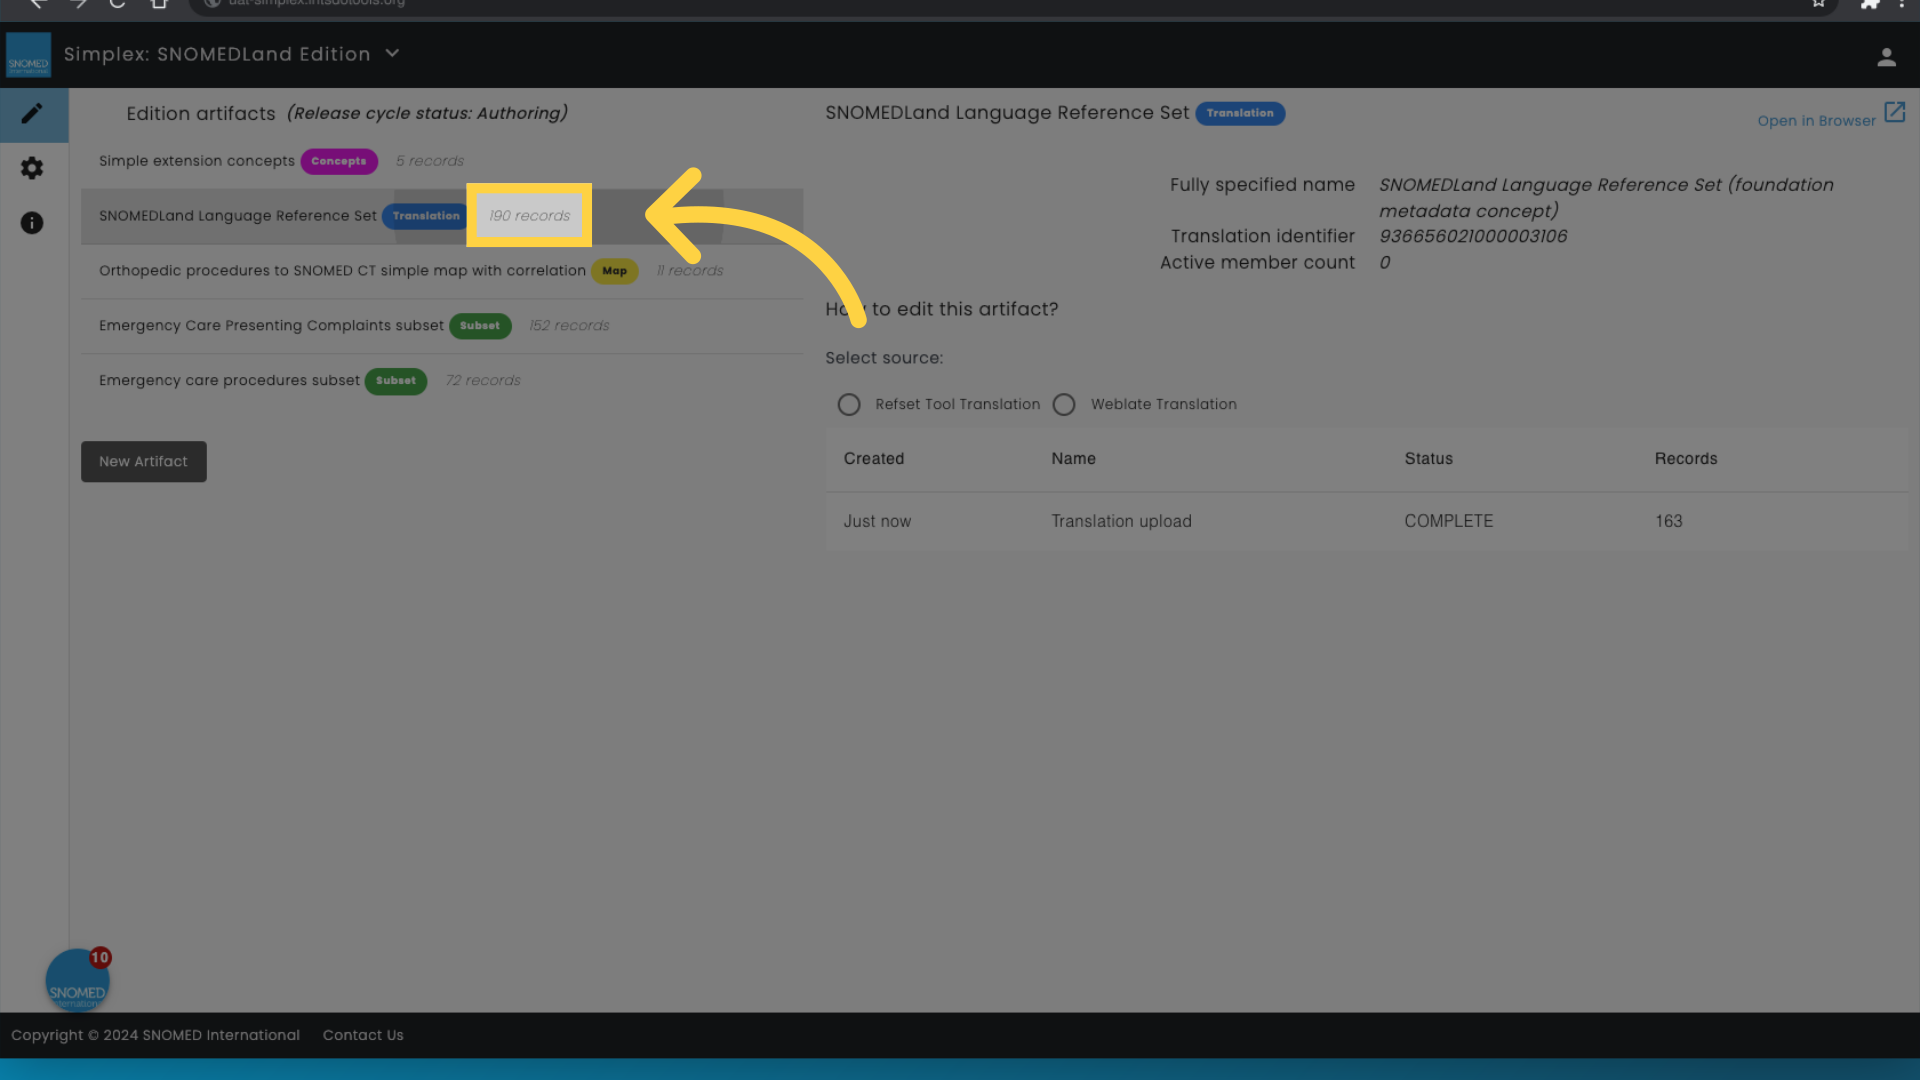
11. Confirm import
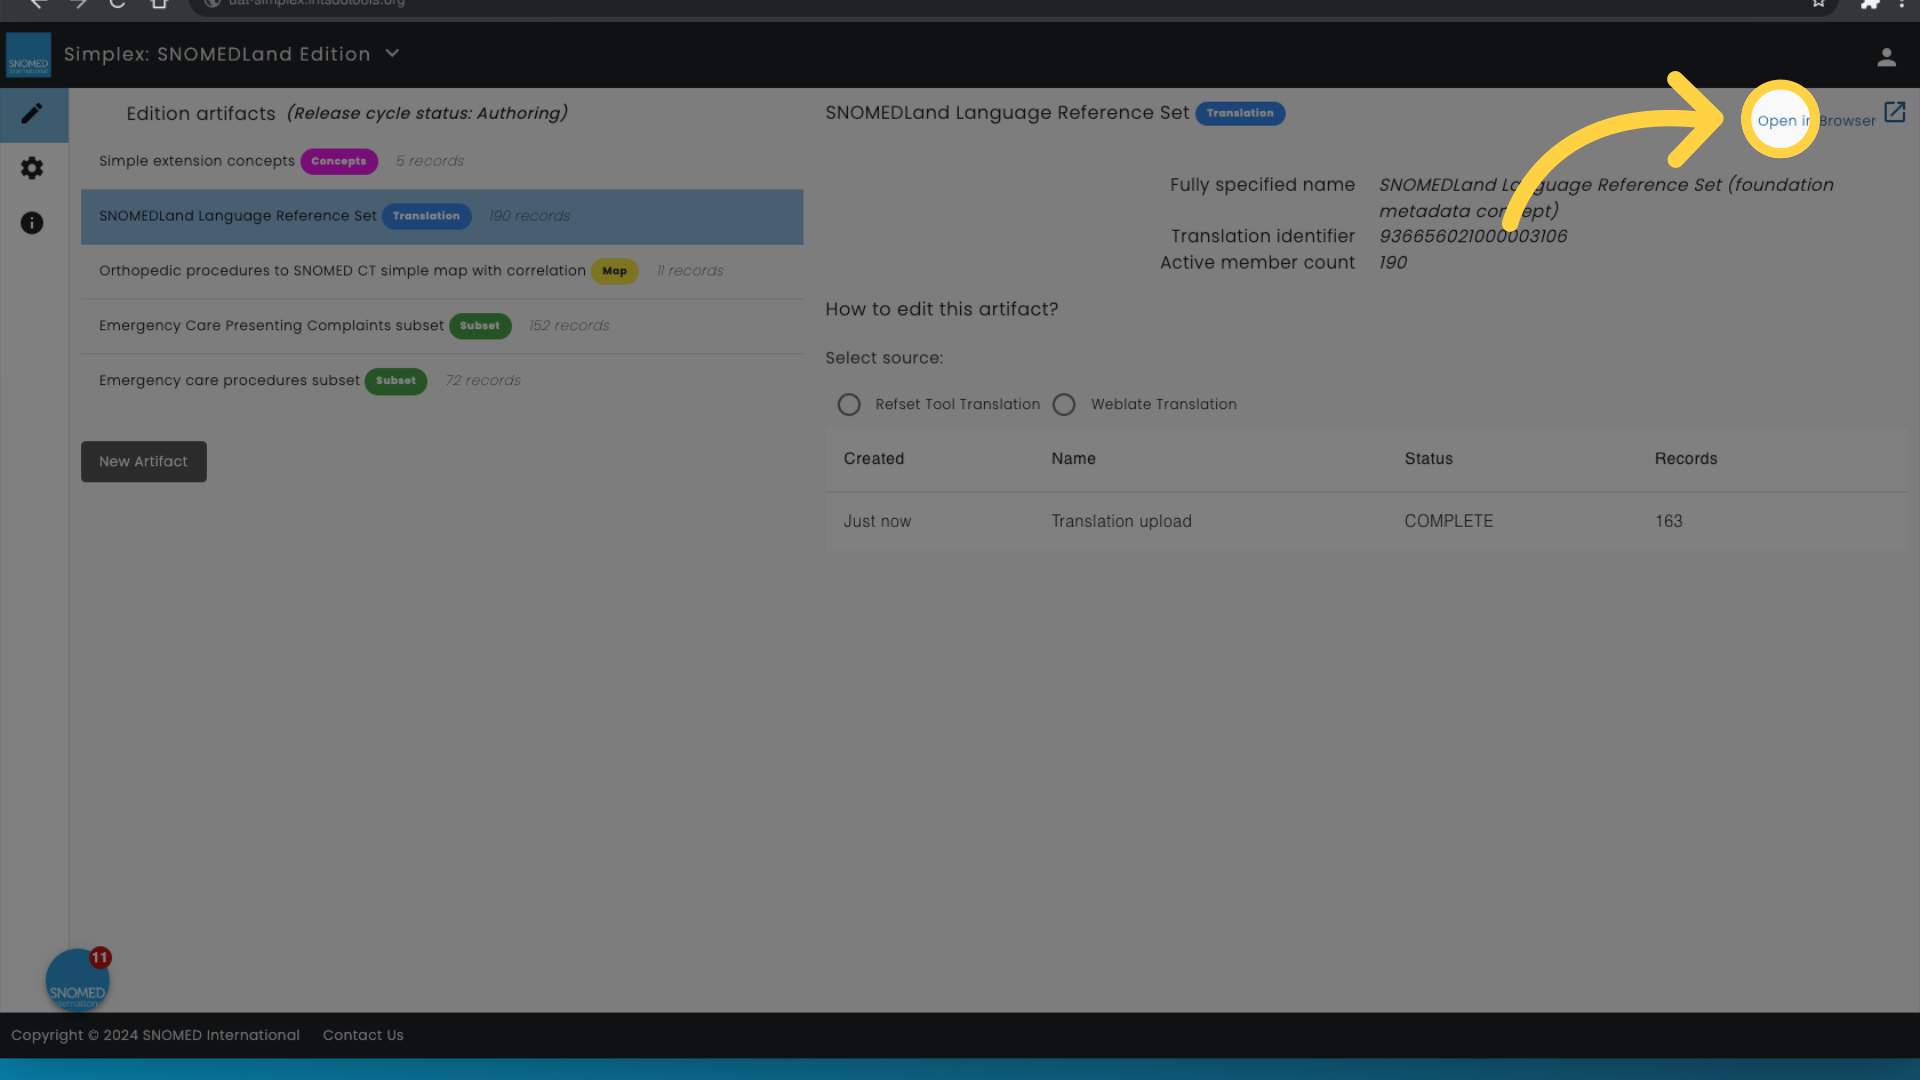
12. Open Browser
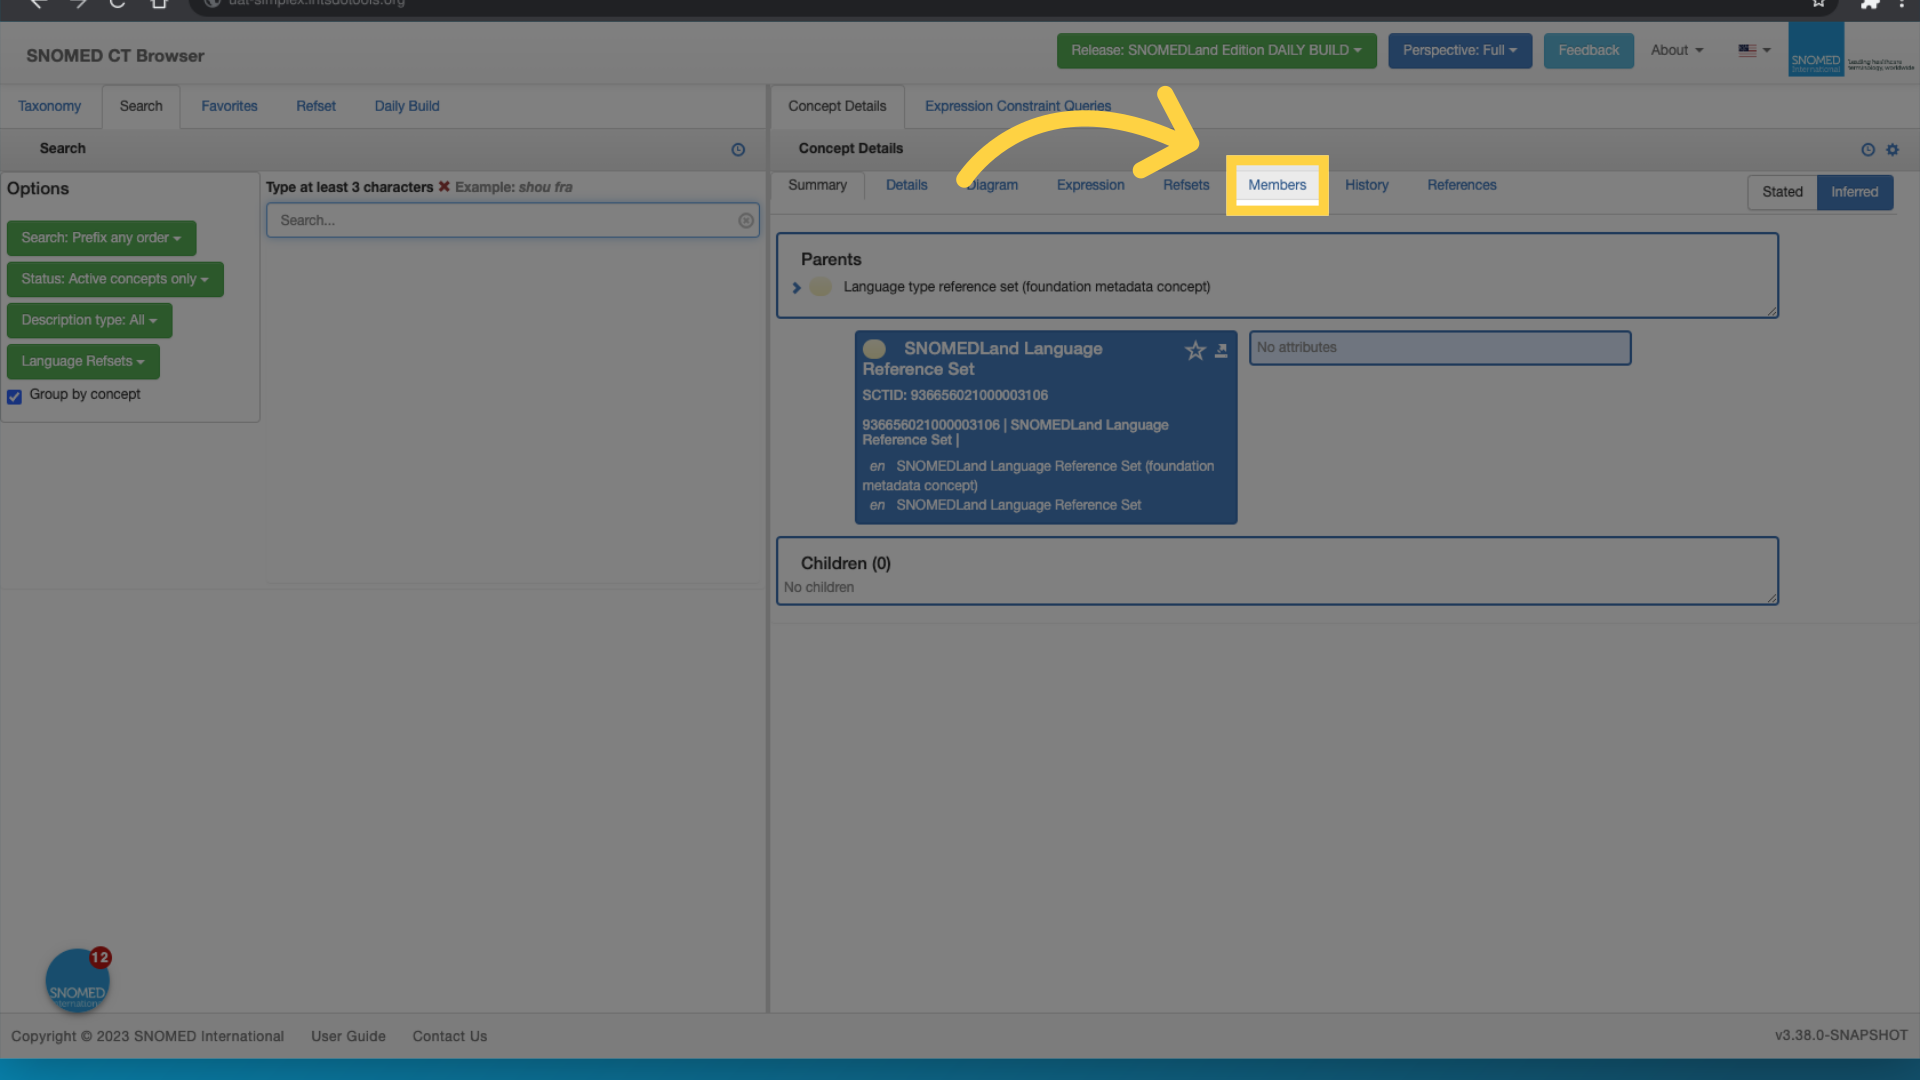
13. Click "Members"
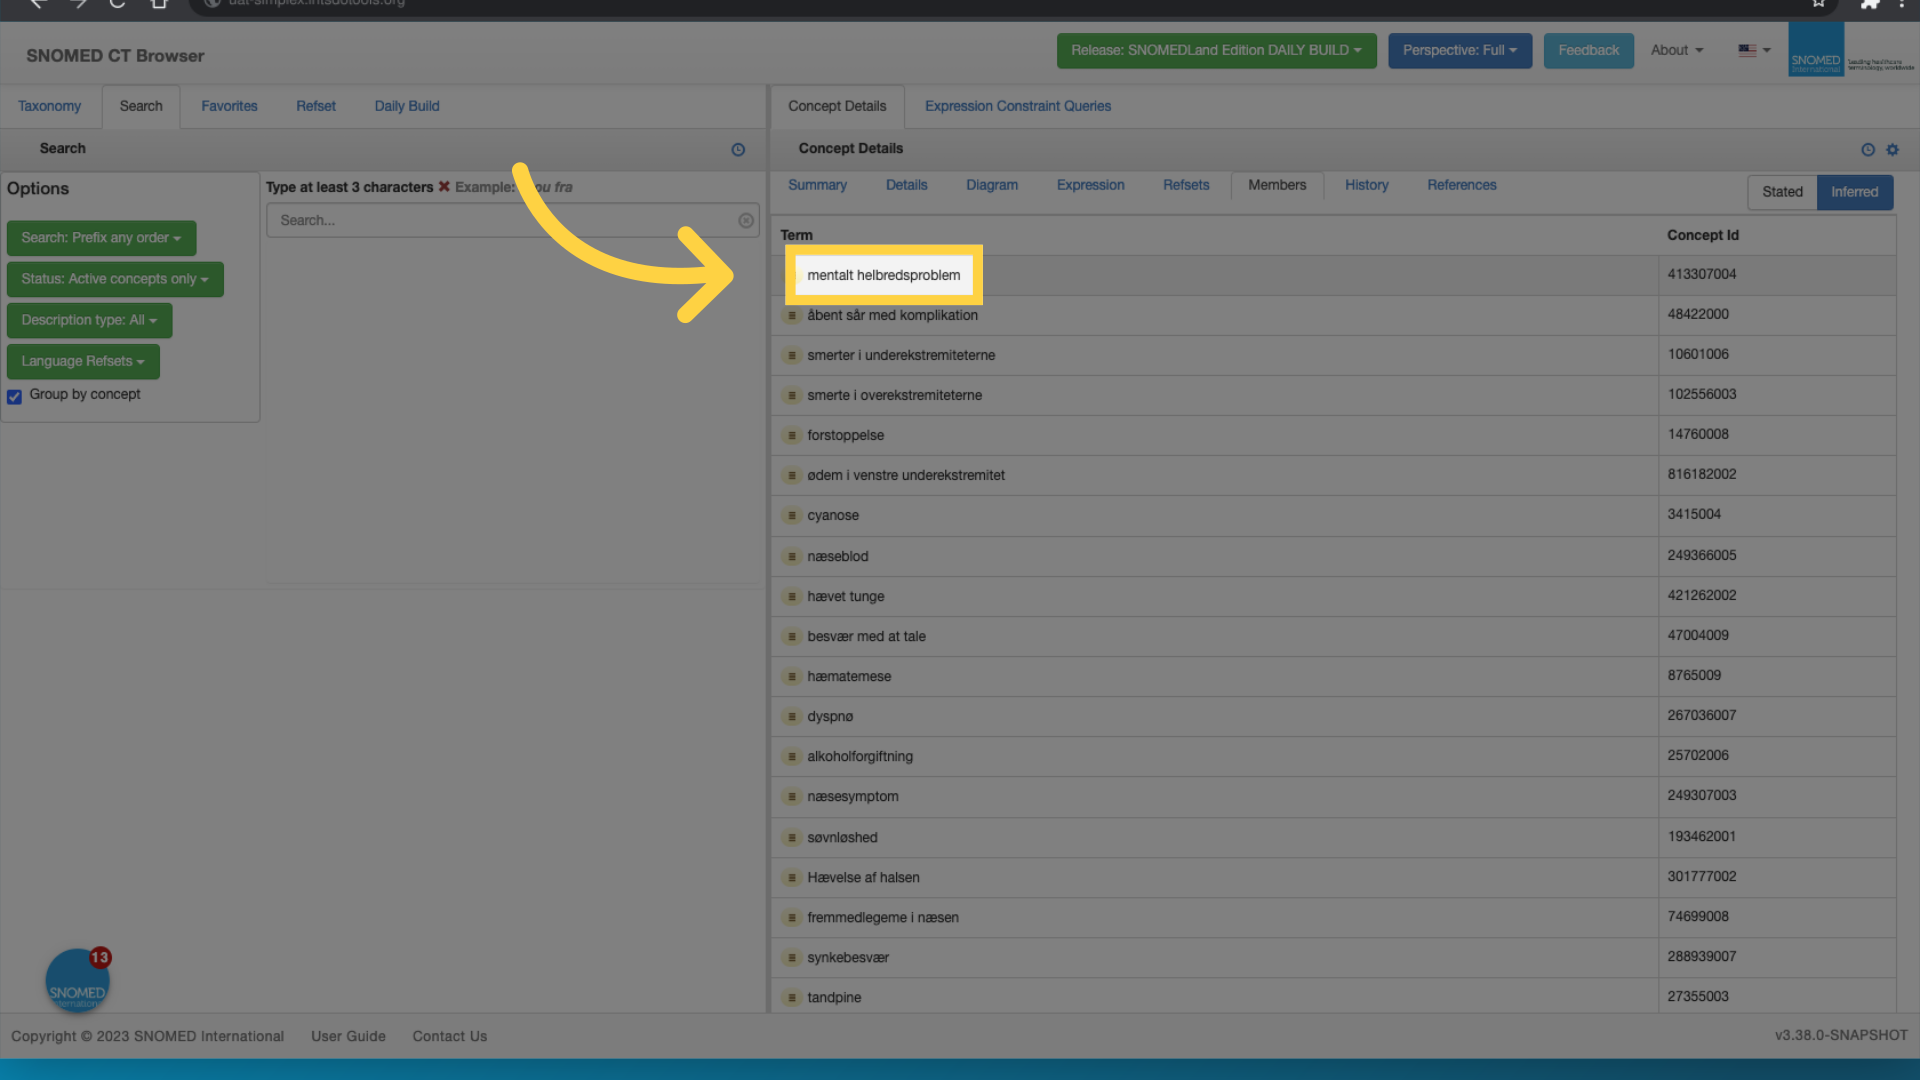
14. View translated concepts
Demonstration Videos
Create language reference set :
| HTML |
|---|
<div style="position:relative;padding-bottom:56.25%;"> <iframe style="width:100%;height:100%;position:absolute;left:0px;top:0px" src="https://embed.app.guidde.com/playbooks/qKVwMcvvMoKQqSuL4REnaw" title="Create a Translation in Simplex" frameborder="0" referrerpolicy="unsafe-url" allowfullscreen="true" allow="clipboard-write" sandbox="allow-popups allow-popups-to-escape-sandbox allow-scripts allow-forms allow-same-origin allow-presentation"></iframe> </div>
<p style="display: none">
00:00: This guide will walk you through creating a translation in Simplex using the ihtsc.

00:08: Master these steps for Effective employee training

00:13: Create a new artifact by clicking on new artifact.

00:17: Navigate to the right side of the screen to select the type.

00:22: Access the translation feature by clicking on translation

00:26: Select the preferred term by clicking on preferred term.

00:30: Enter the name you want for your language reference set?

00:35: Navigate to the desired location by clicking on the specified area.

00:40: Confirm that the artifact is created.

00:43: This guide covered the process of creating a translation in Simplex through

00:47: the ihtsc.

</p> |
Add translated terms:
| HTML |
|---|
<div style="position:relative;padding-bottom:56.25%;"> <iframe style="width:100%;height:100%;position:absolute;left:0px;top:0px" src="https://embed.app.guidde.com/playbooks/4XNhPhXuU14iVbV7KEtBdn" title="How to add translated terms to your extension in Simplex" frameborder="0" referrerpolicy="unsafe-url" allowfullscreen="true" allow="clipboard-write" sandbox="allow-popups allow-popups-to-escape-sandbox allow-scripts allow-forms allow-same-origin allow-presentation"></iframe> </div>
<p style="display: none">

00:00: This guide will walk you through the process of adding translated terms to your extension

00:04: in simplex.

00:03: From navigating different sections to selecting specific subsets and uploading

00:07: data. These steps guide you through efficiently managing translated

00:11: terms within the application.

00:08: Access the snomed land language reference set translation records.

00:11: Navigate to The refset Tool translation section.

00:14: Open the refset and translation tool.

00:17: Switch to ref set. I HTS org.

00:20: Proceed with the current action

00:23: Export the selected data

00:26: Navigate to uat Dash.

00:29: Select a file to upload.

00:32: Initiate the data upload process

00:35: Access the specific 190 records

00:38: Open the content in a new browser window.

00:41: Access the member section

00:44: Select mental to Hell breads problem from the options

00:47: The guide covers the process of adding translated terms to your extension in

00:51: simplex.

</p> |
Demonstration Video
| HTML |
|---|
To be added |
